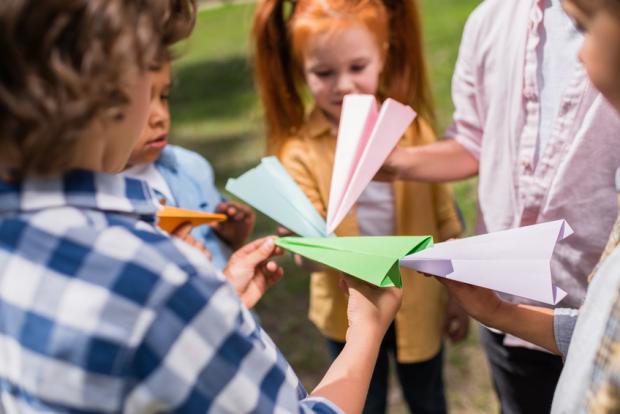


Whether nozzle, swallow or biplane – we show how to make the best paper planes and tinker the instructions of the models for paper planes. Have fun building and let fly!
As early as 2000 years ago, people in ancient China were turning paper toys out of paper. This Art is still called “origami” to this day. We provide you with the instructions for five beautiful flyers in a handy throw format. Are you ready for departure?
How to make the best paper planes: the top 5 models
Paper plane guide: The nozzle
You need: an A4 sheet
Fold the paper lengthwise in the middle and apart again. Kink the two upper corners to the center line. The resulting tip you fold generously down.
And again: fold the upper corners to the midline. From the original tip peeks out now something. You’ll fold that up.
Turn the plane to the back and tip to the left. Flip the bottom side up. Finally, make the wings by bending the top edges to the bottom edge.
Paper airplane guide: The swallow
You need:
- a square sticky note
- Adhesive tape and paperclip
Fold the opposite corners of the paper up and down again. Then fold three of the four corners so that the tips meet in the middle.
Fold the lower half to the upper one and fold the wings outwards on both sides.
Extend the folded tips of the wings and pull them over a pin. So they are a bit round. The tip of the flyer you reinforce with some tape and a paper clip.
Paper airplane guide: The biplane
You need:
- two A4 sheets
- tape
Fold the paper lengthwise in the middle and apart again. Kink the two upper corners first and then once again to the center line. The same thing is repeated with the second sheet.
One sheet you put aside, with the other one goes on: Flip the bottom on the upper side. In each case bend the two upper edges to the lower edge so that two wings are created.
Lastly, you push this part into the other – just as you can see on the top right. Stick the two parts together with adhesive tape. Already have an Airbus A380 – with two floors!