


This illustrated guide on how to make a paper plane outlines several paper plane instructions from easy paper planes to more challenging paper plane designs.
Already 2000 years ago people in ancient China folded toys made of paper; the art is still called ” origami ” today. We provide you with the instructions for beautifully folded planes in a handy throw format. Are you ready to take off with how to make a paper plane?
Whether a basic Nozzle design, the Swallow, the Biplane, the Wave glider or Top Sailor — or more — we show you how to make a paper plane paper and the instructions for the models for making paper planes. Have fun building one and let it fly!
How to do origami wet folding techniques
CONTENTS:
Instructions for: the Nozzle
Instructions for: the Swallow
Instructions for: the Biplane
Instructions for: the Top Sailor
Instructions for: the Wave Glider
Instructions for: the Falcon
Instructions for: the Arrow
Instructions for: the Glider
Instructions for: the Hawk
How to make a paper plane: the Nozzle
You need:
- one A4 sheet
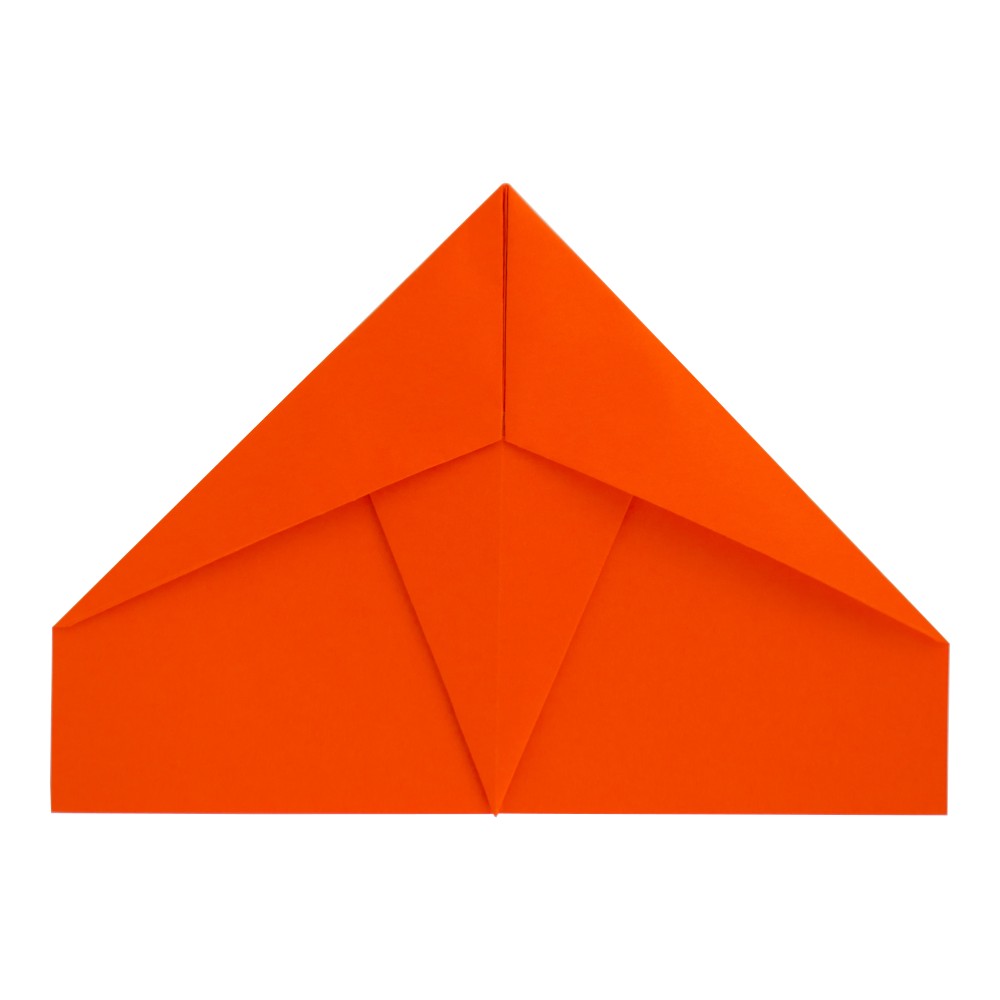
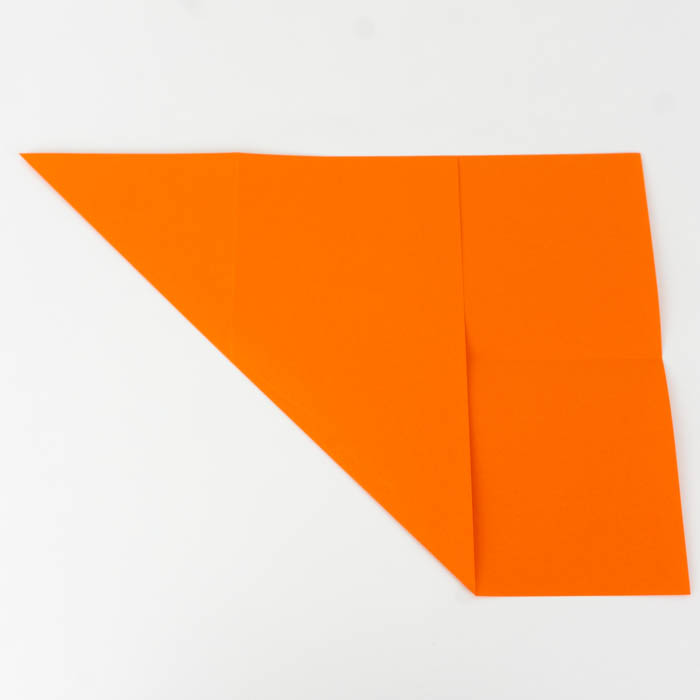
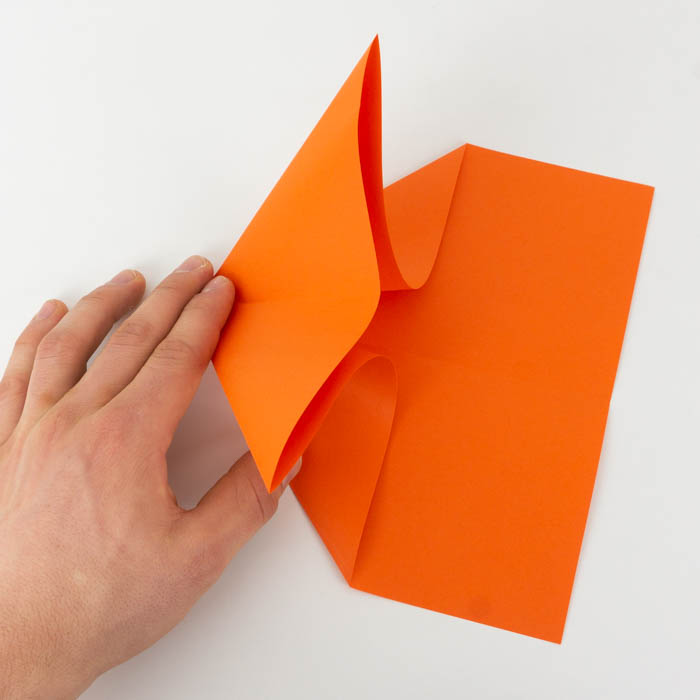
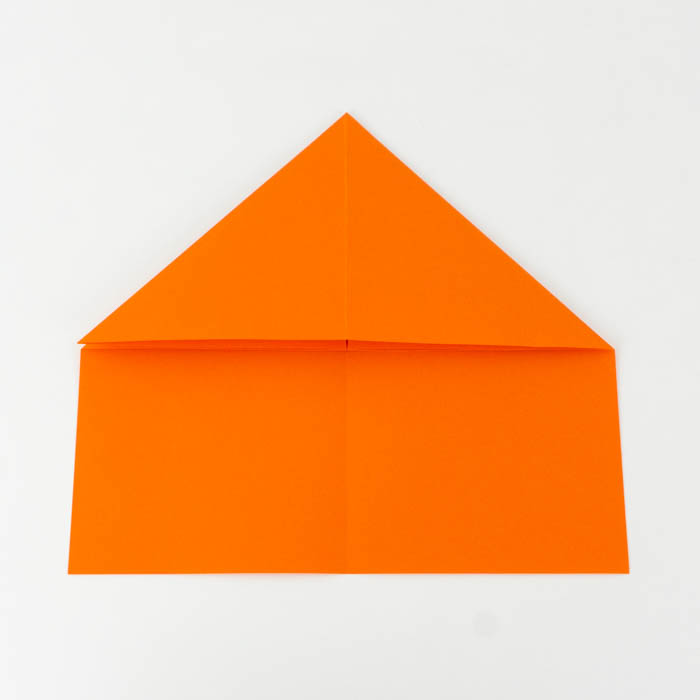
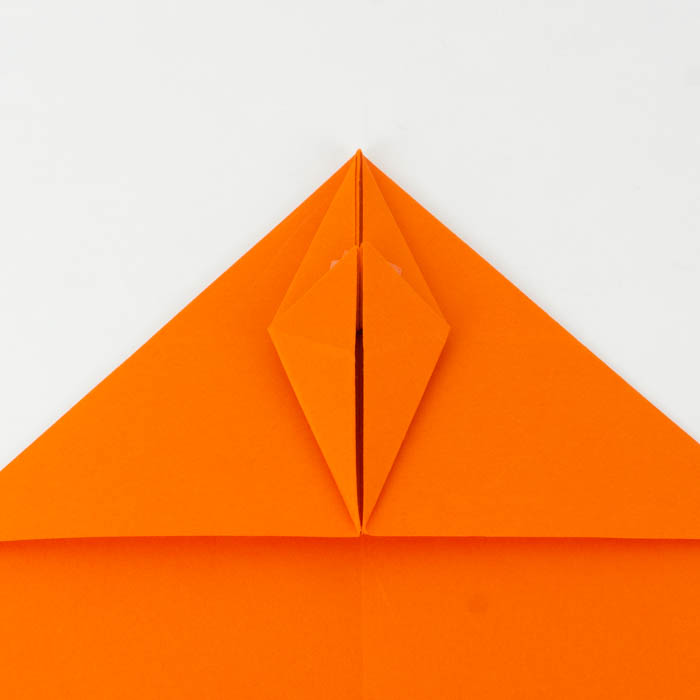
Fold the paper lengthways in the middle and then unfold it again. Bend the top two corners towards the center line. You fold the resulting tip down generously.

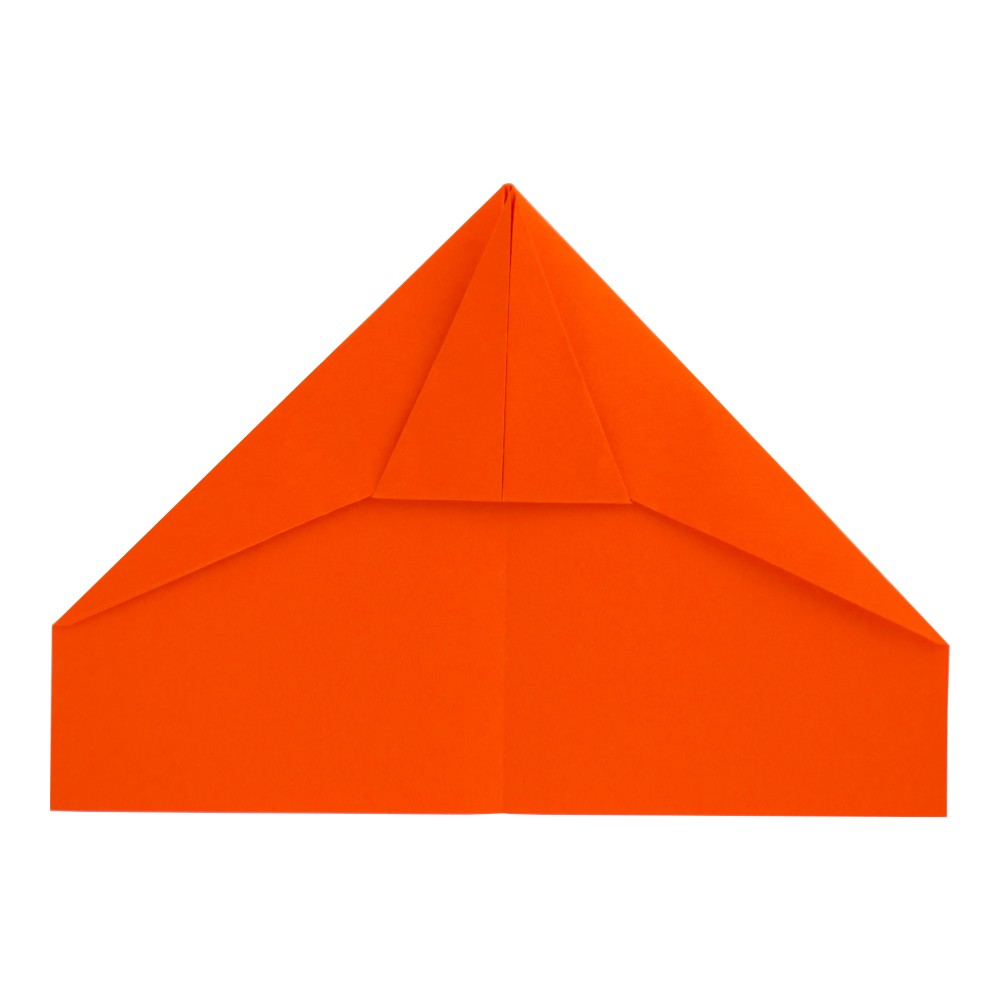
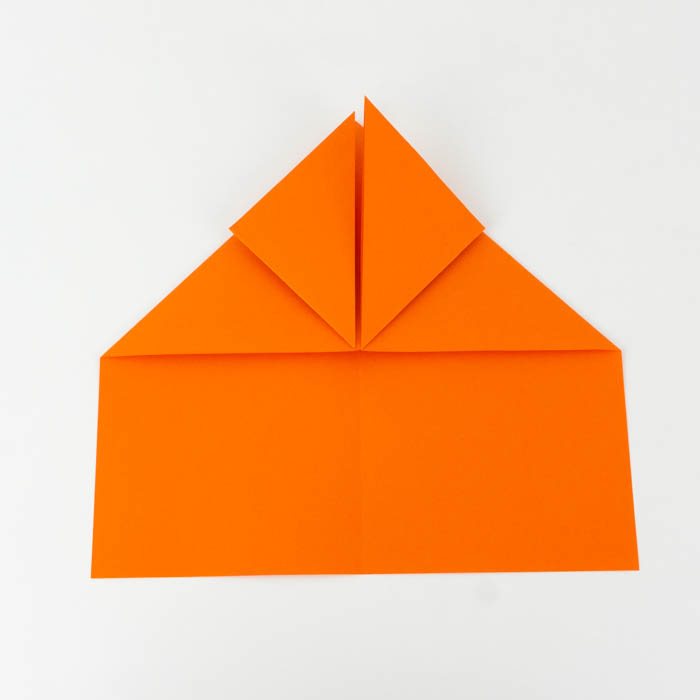
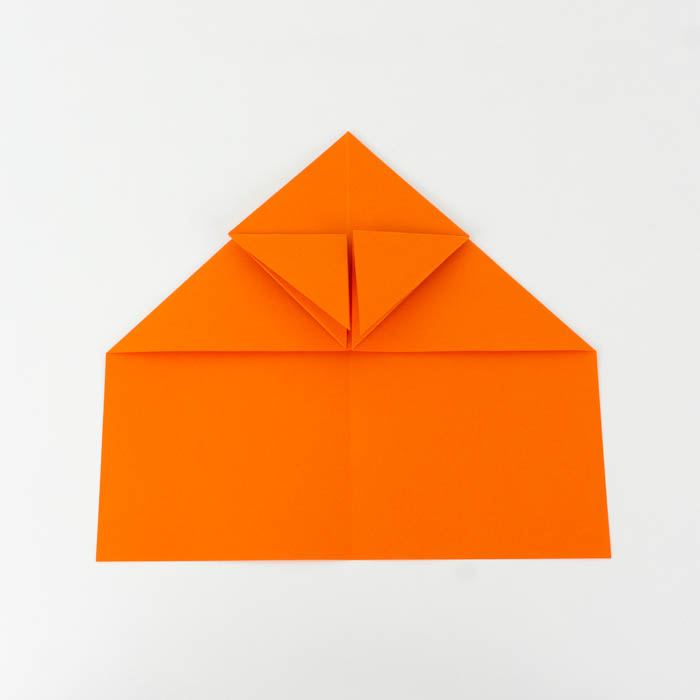
And again: fold the top corners towards the center line. Something is now peeking out from the original tip. You bend that up.

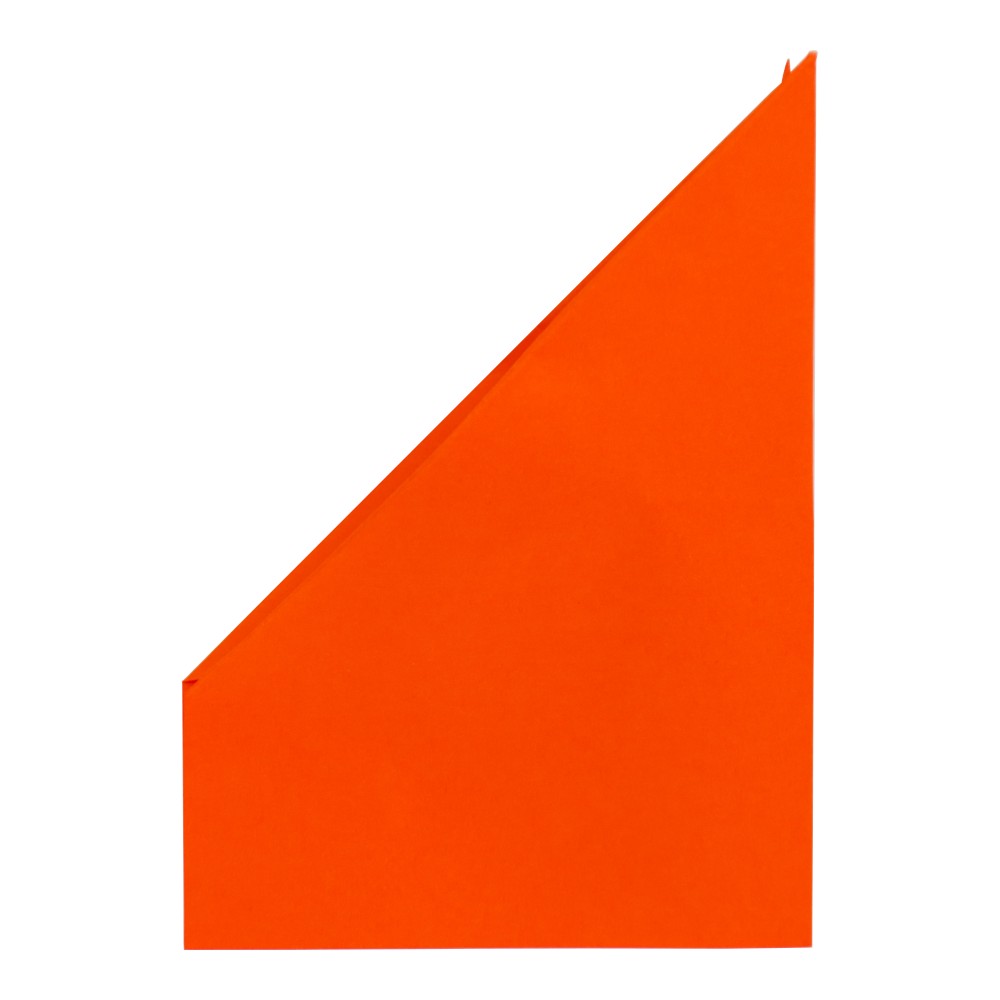
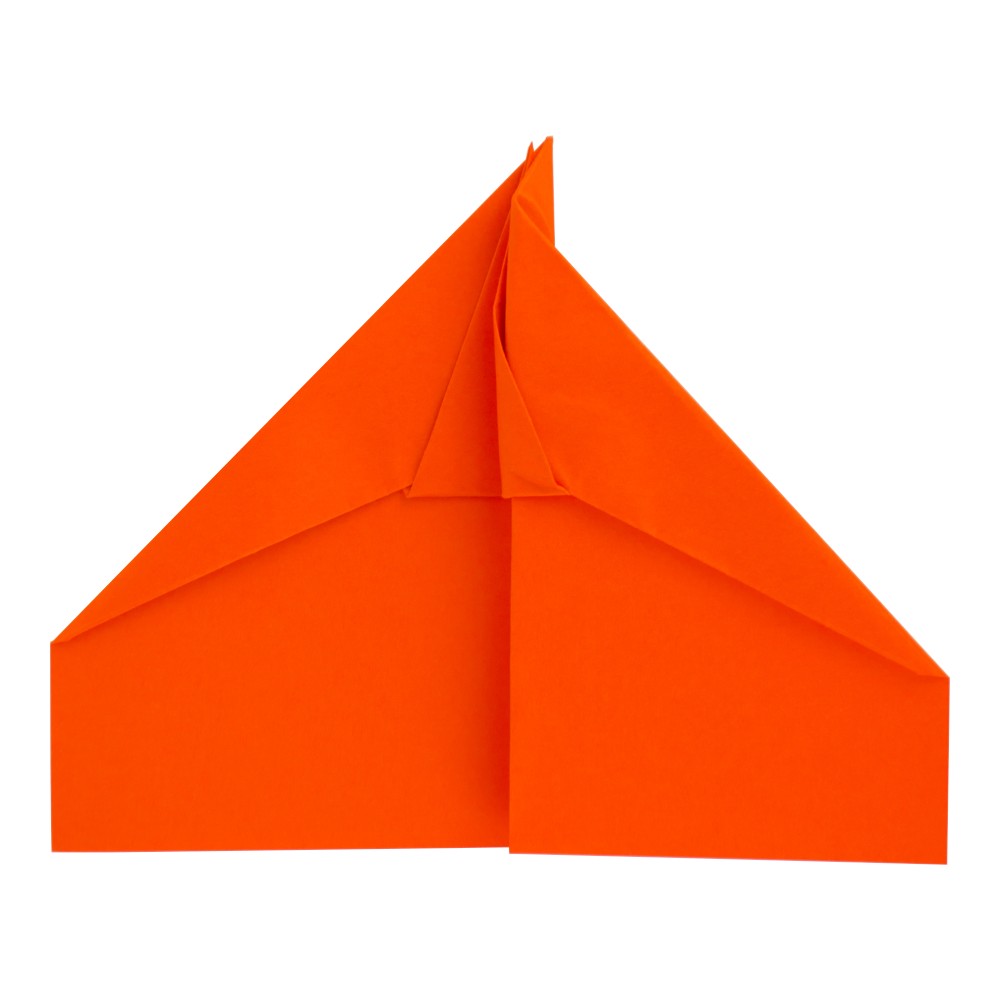
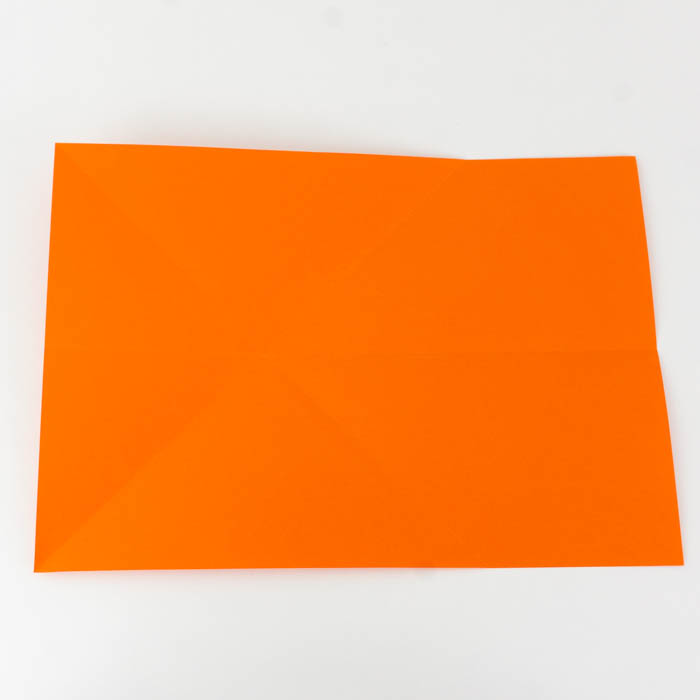
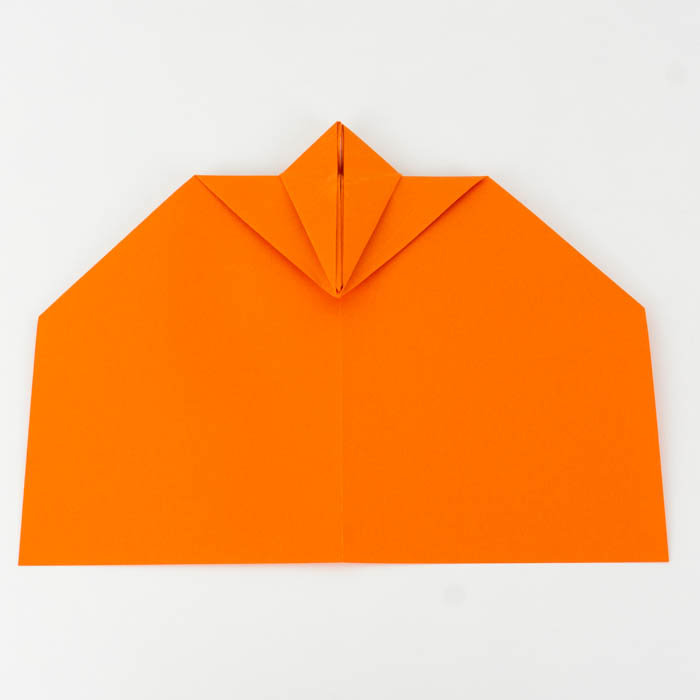
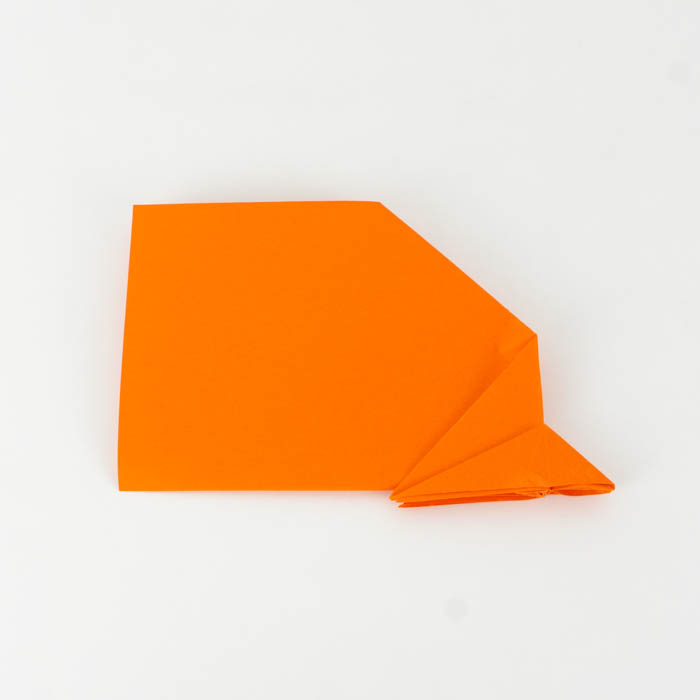
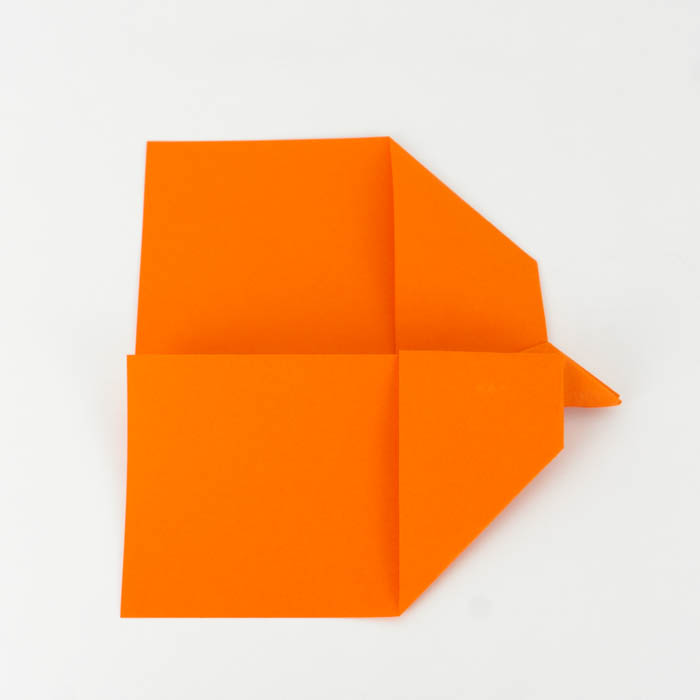
Turn the plane on its back and tip to the left. Fold the bottom side onto the top. Finally, make the wings by folding the upper edges to the lower edge.

How to make a paper plane: the Swallow
You need:
- a square sticky note
- Adhesive tape and paper clip

Unfold the opposite corners of the note and then unfold it again. Then fold three of the four corners so that the tips meet in the middle.

Fold the lower half onto the upper half and bend the wings outward on both sides.

Pull out the folded tips of the wings and pull them over a pencil. So they get a bit round. Reinforce the tip of the flyer with some adhesive tape and a paper clip.
How to make a paper plane: the Biplane
You need:
- two A4 sheets
- Adhesive tape
Fold the paper lengthways in the middle and then unfold it again. Bend the top two corners first and then again to the center line. You repeat the same with the second sheet.

You put one sheet aside and continue with the other: fold the lower side onto the upper side. Bend the two upper edges towards the lower edge so that two wings are created.

Finally, slide this part into the other – as you can see in the top right. Glue the two parts together with adhesive tape. You already have an Airbus A380 – with two floors!

How to win rock paper scissors
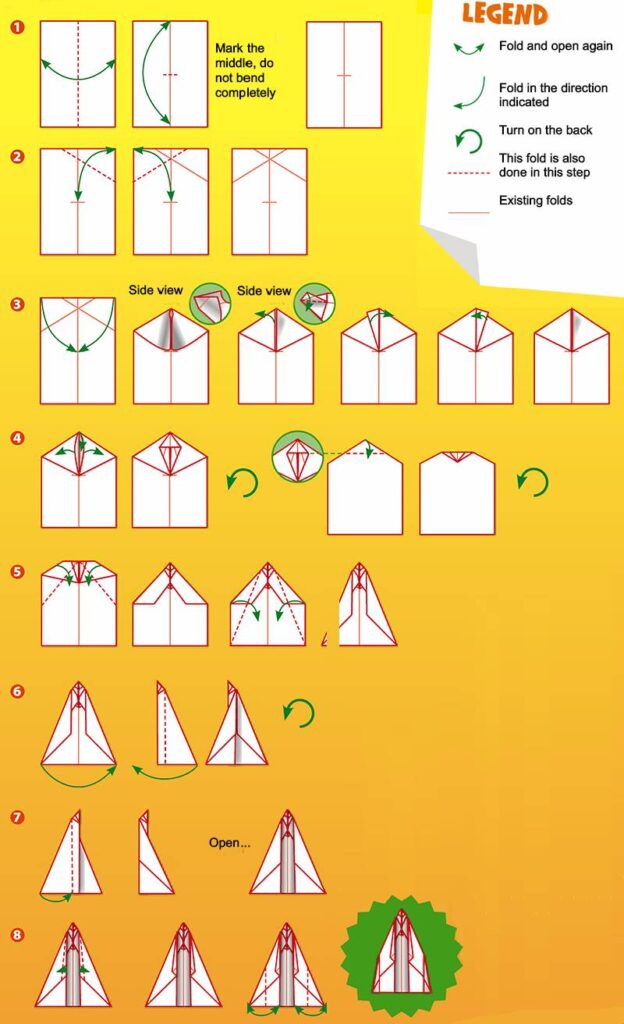
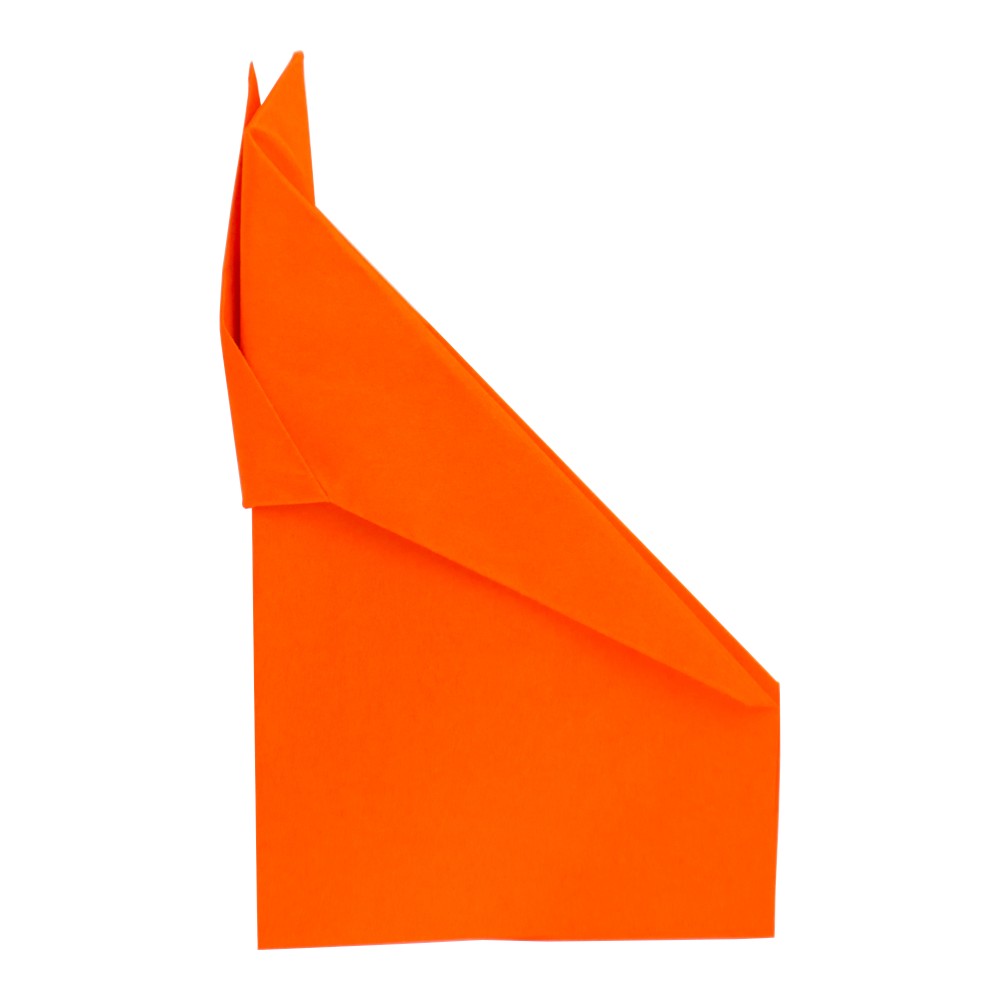
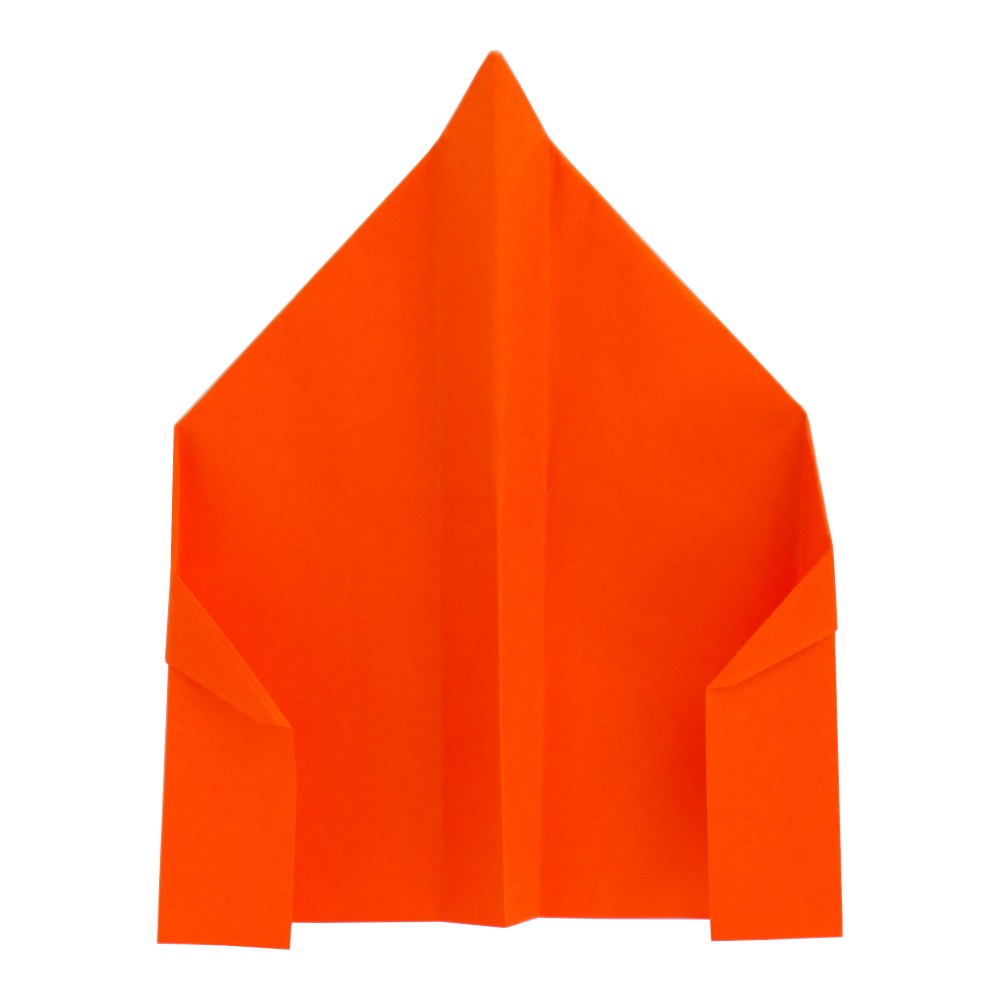
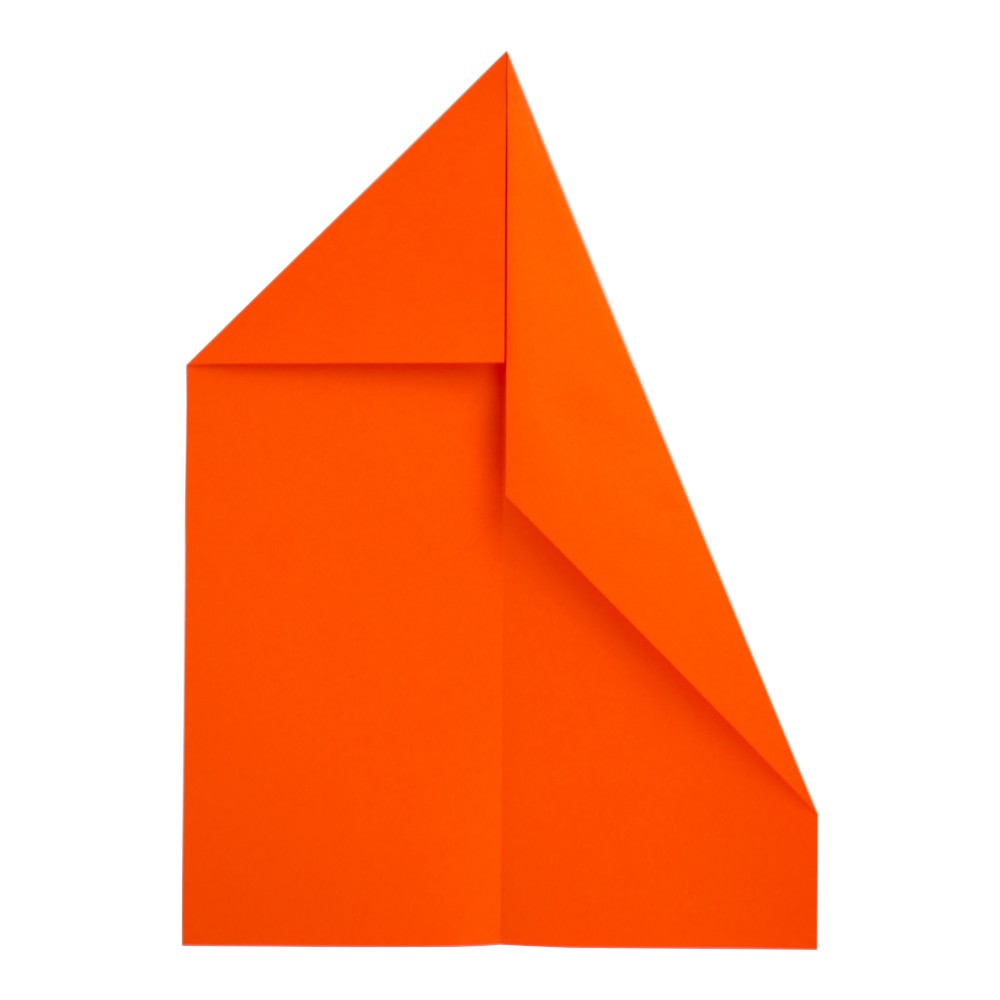
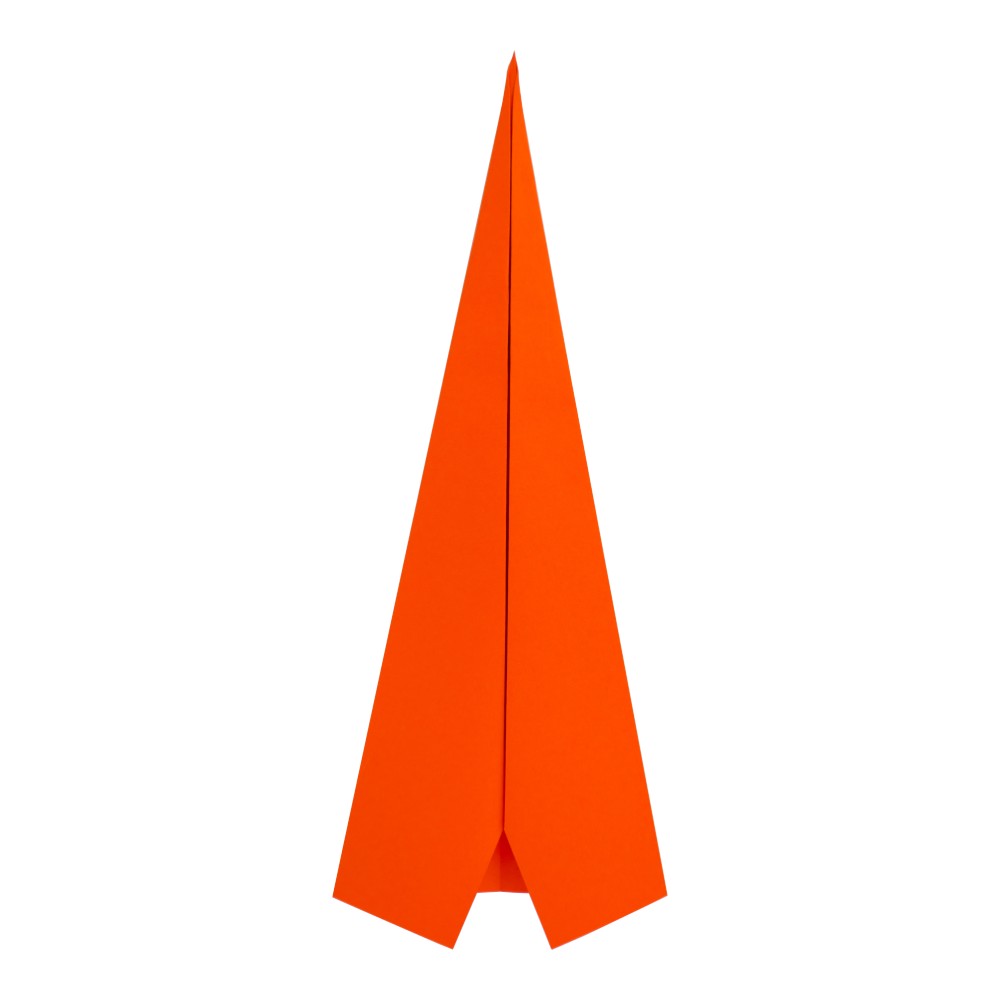
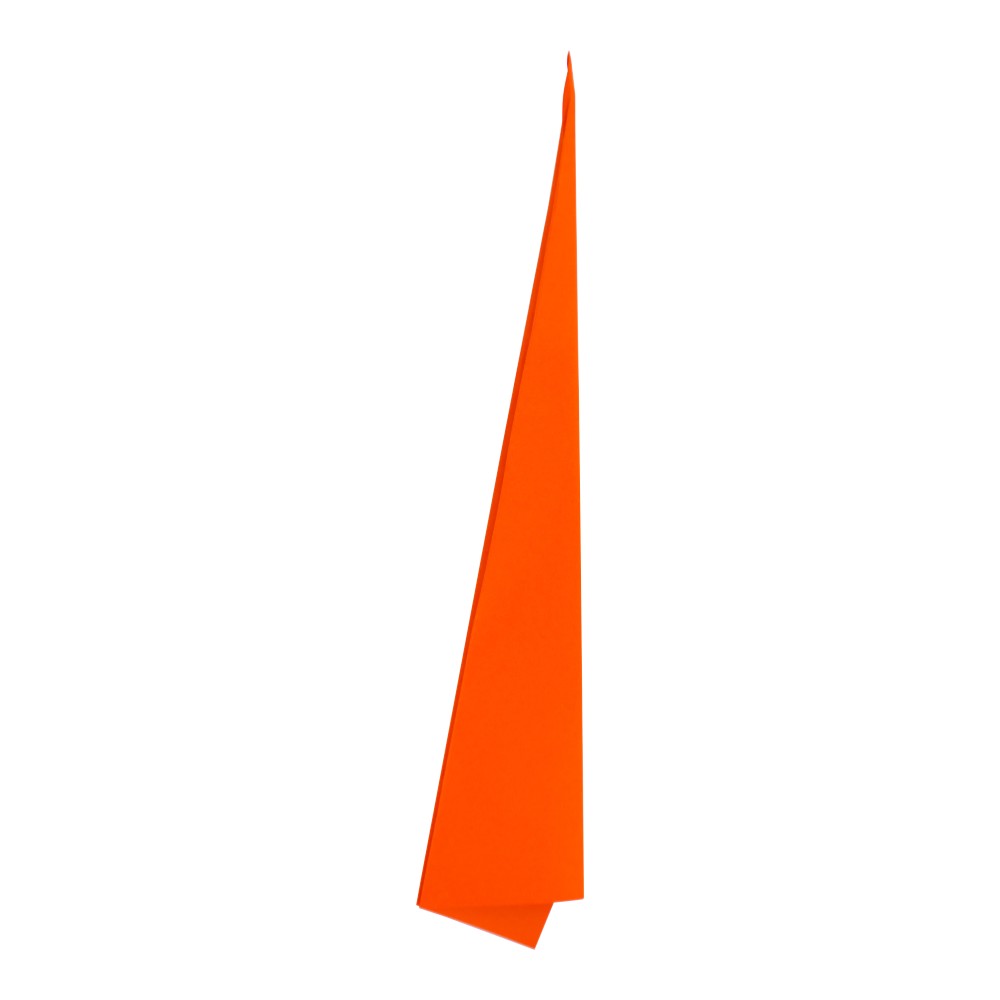
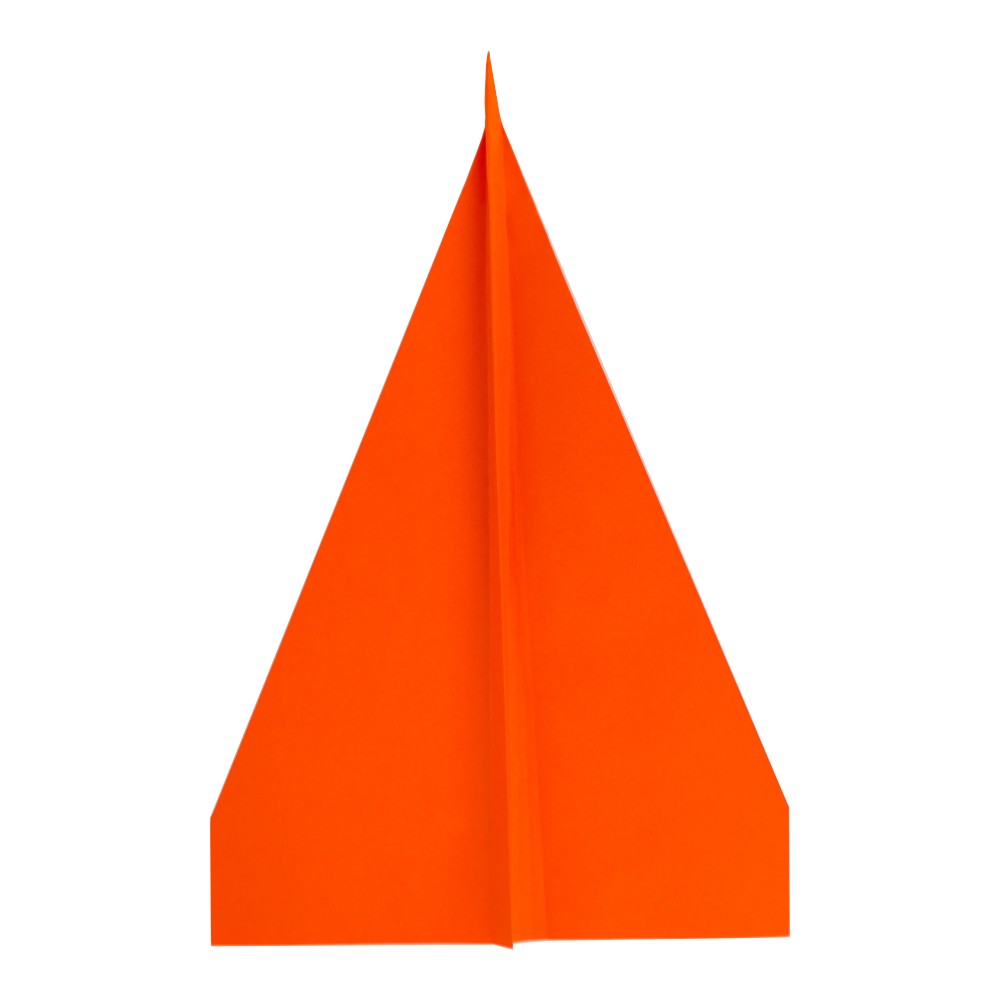
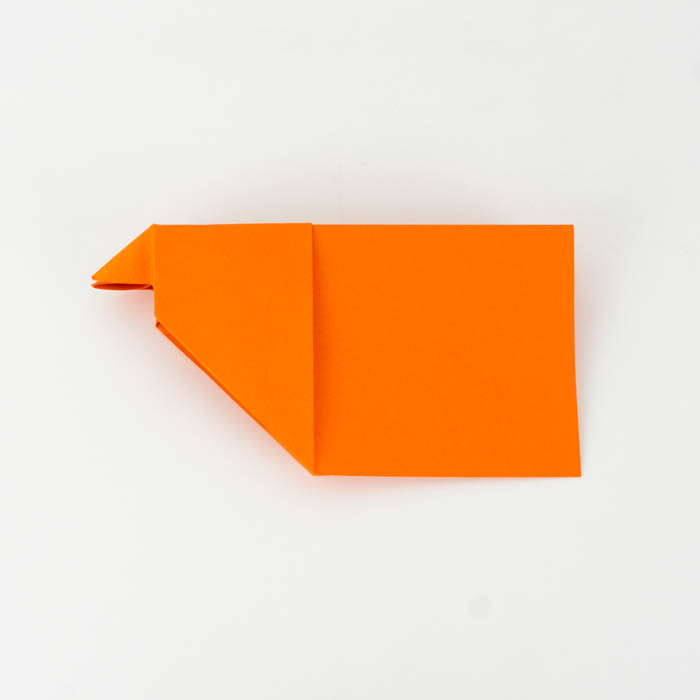
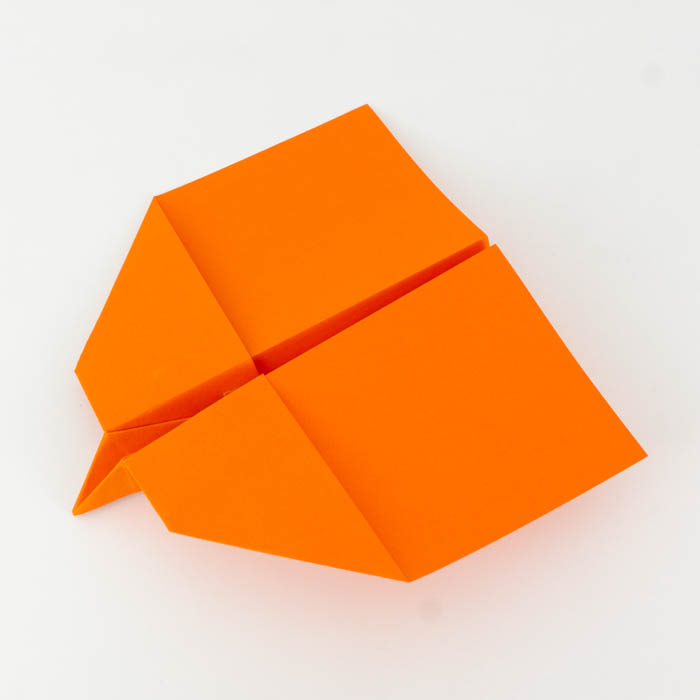
How to make a paper plane: the Top Sailor
- Time required for the paper airplane: around five to ten minutes
- Wrinkles : tricky
- Flying : long haul
- Material : one A4 sheet

Instructions
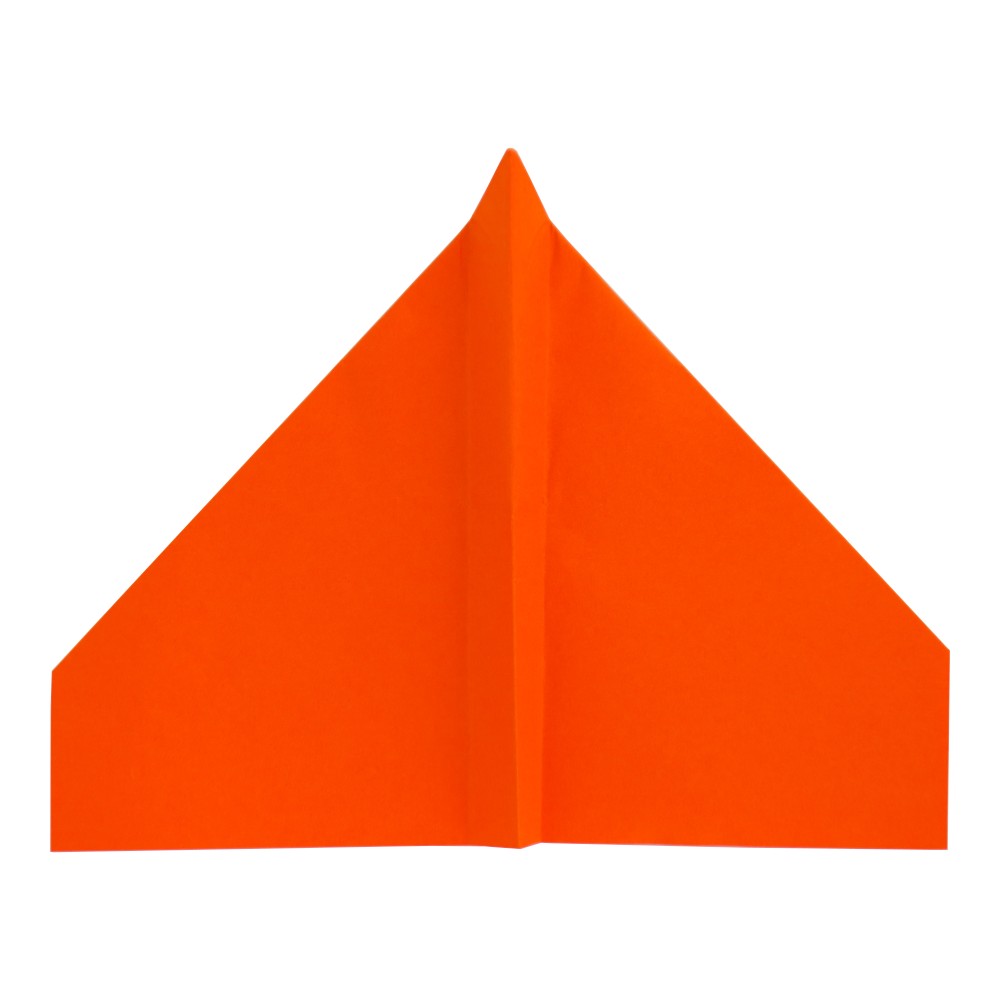
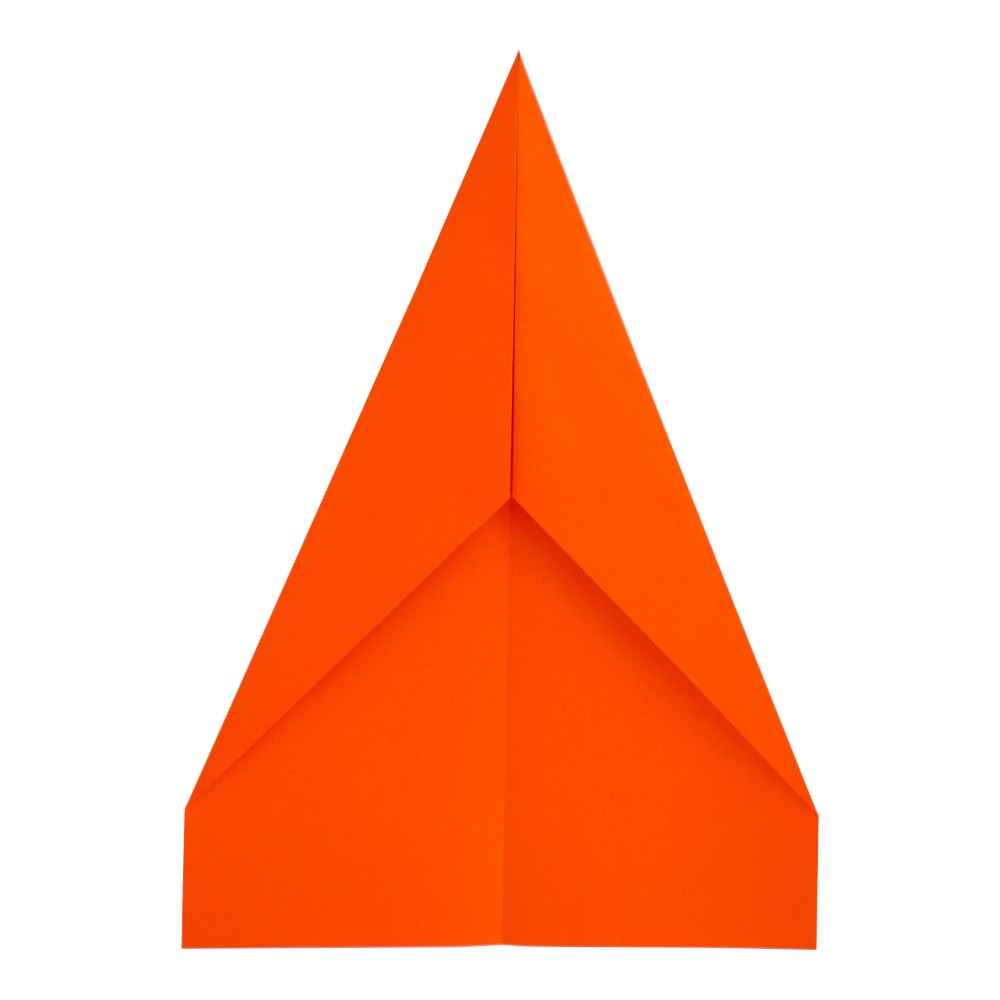
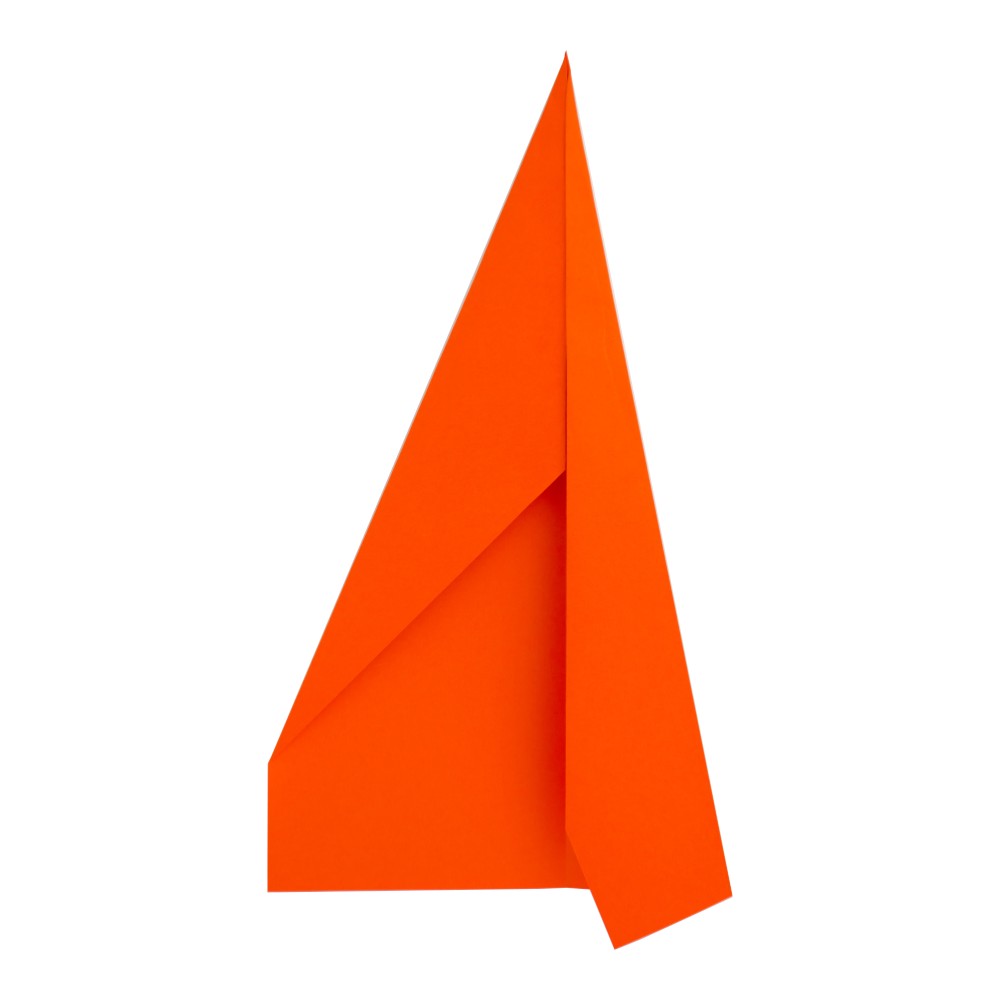
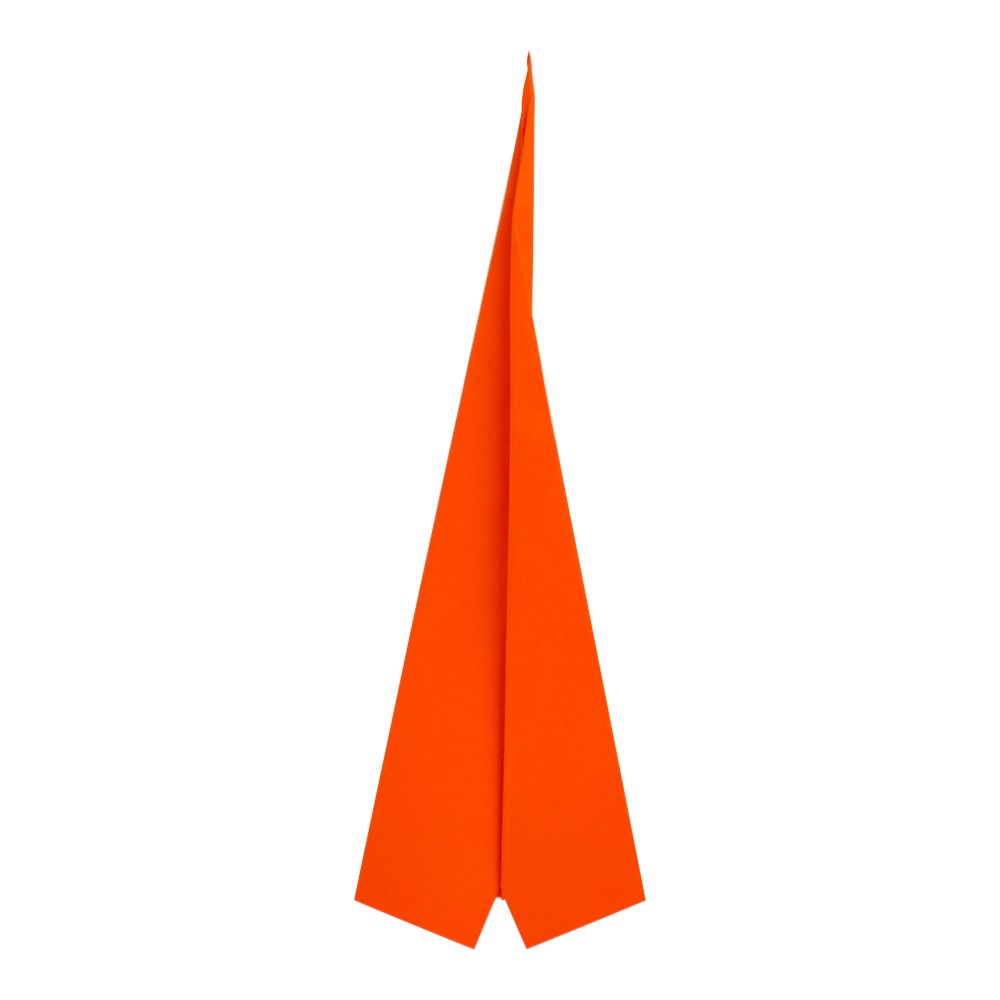
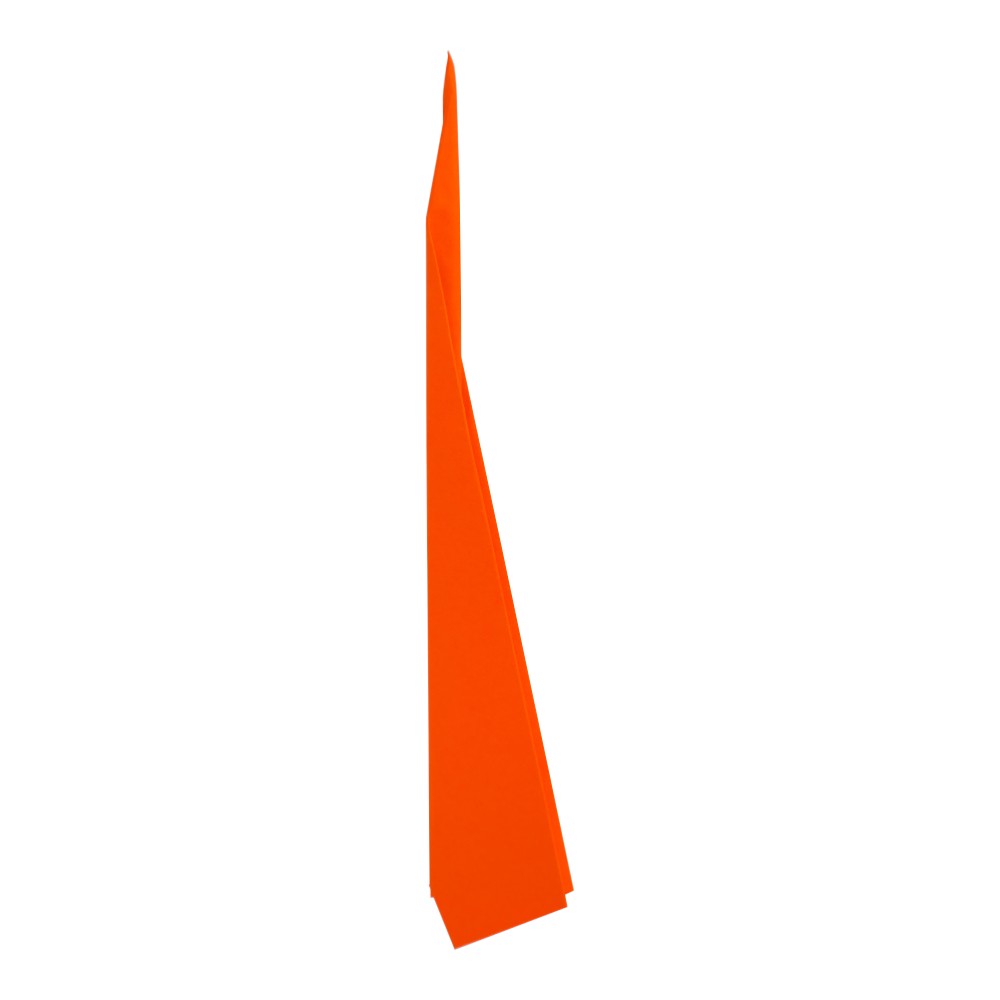
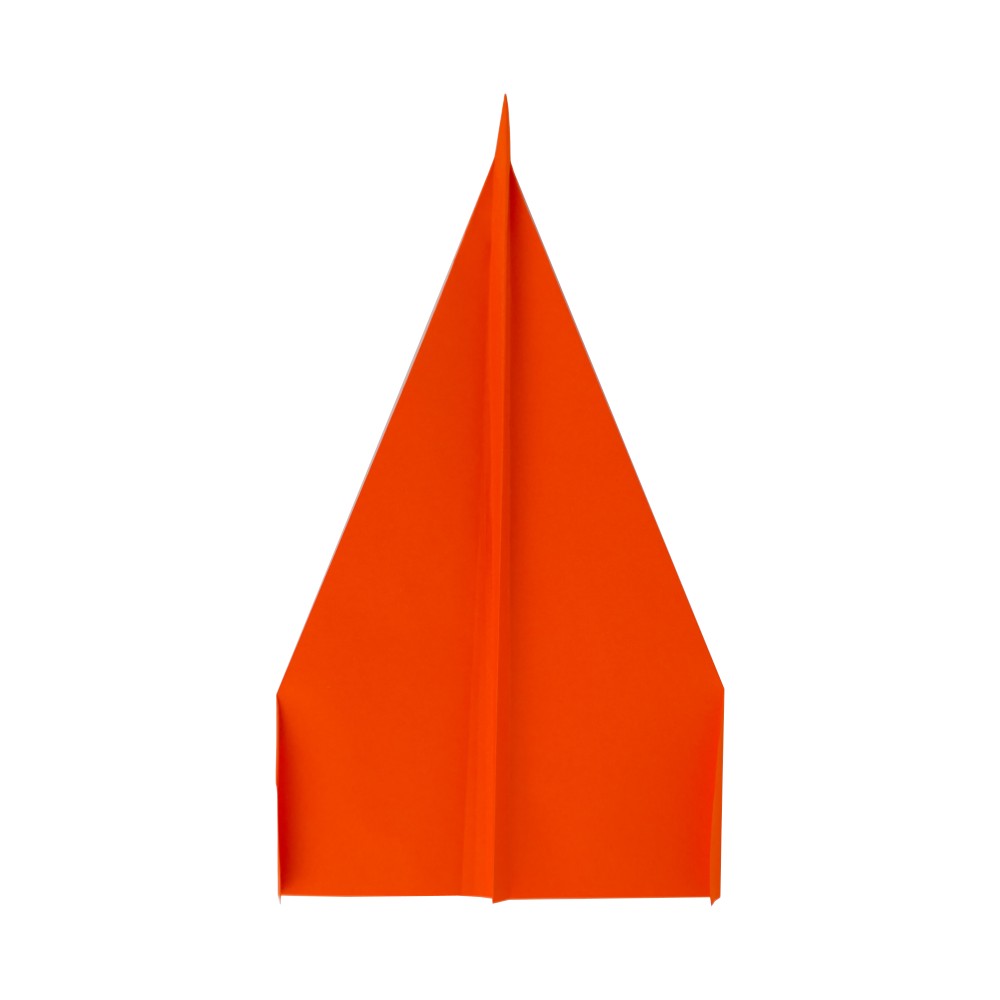
How to make a paper plane: the wave glider
- Time required : 5 minutes
- Wrinkles : easily manageable
- Flying : middle distance
- Material : one A4 sheet

Instructions

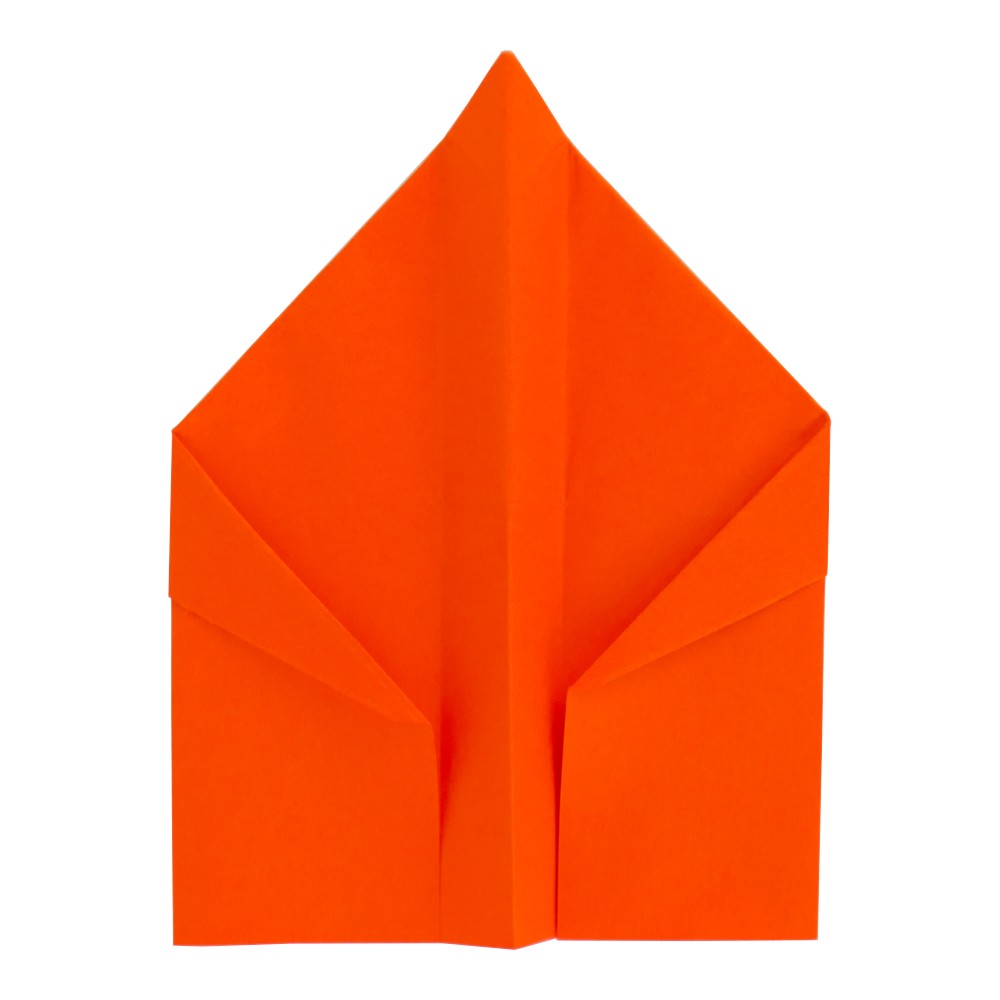
How to make a paper plane: the Falcon

Easy to fold with a medium range are the characteristics of this flyer. The paper airplane is smaller than normal airplanes. With its large winglets the falcon is good and stable in the air. The falcon is easy to fold and understandable for everyone. An ideal paper plane for the living room.
Instructions
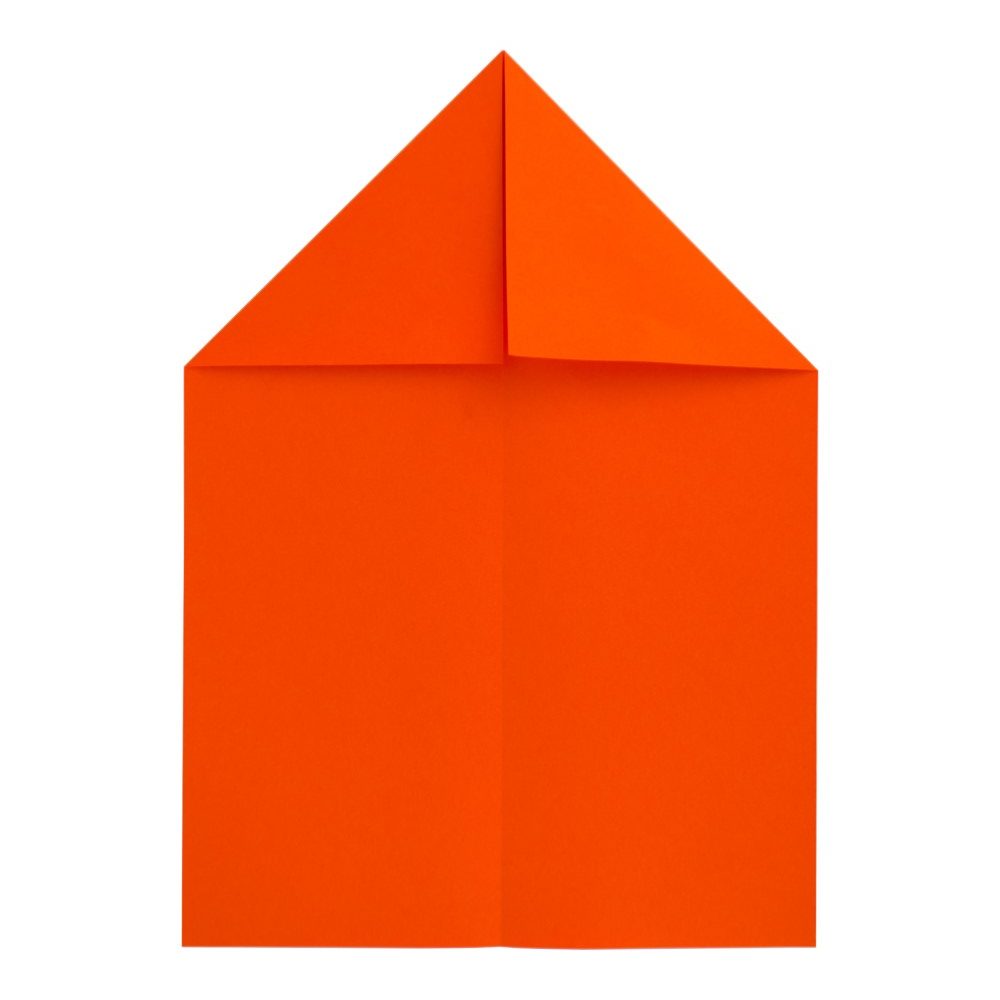
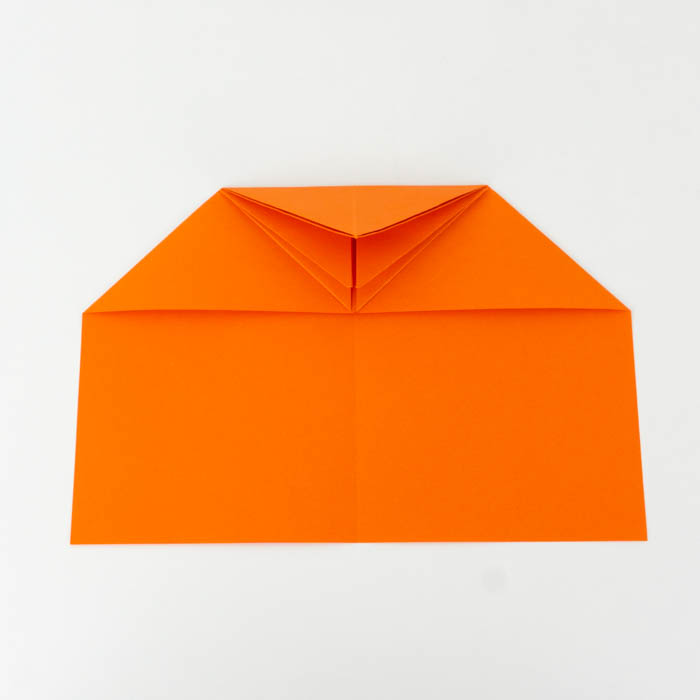
Put the paper upright in front of you.
Fold the paper in half and unfold it again.
Then you take the upper corners and fold them to the middle fold.
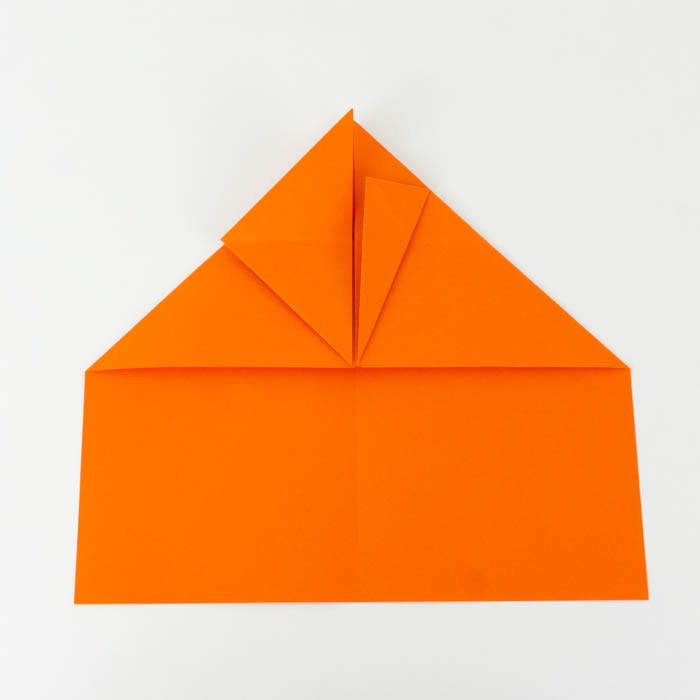
Fold the already folded edges again to the middle.
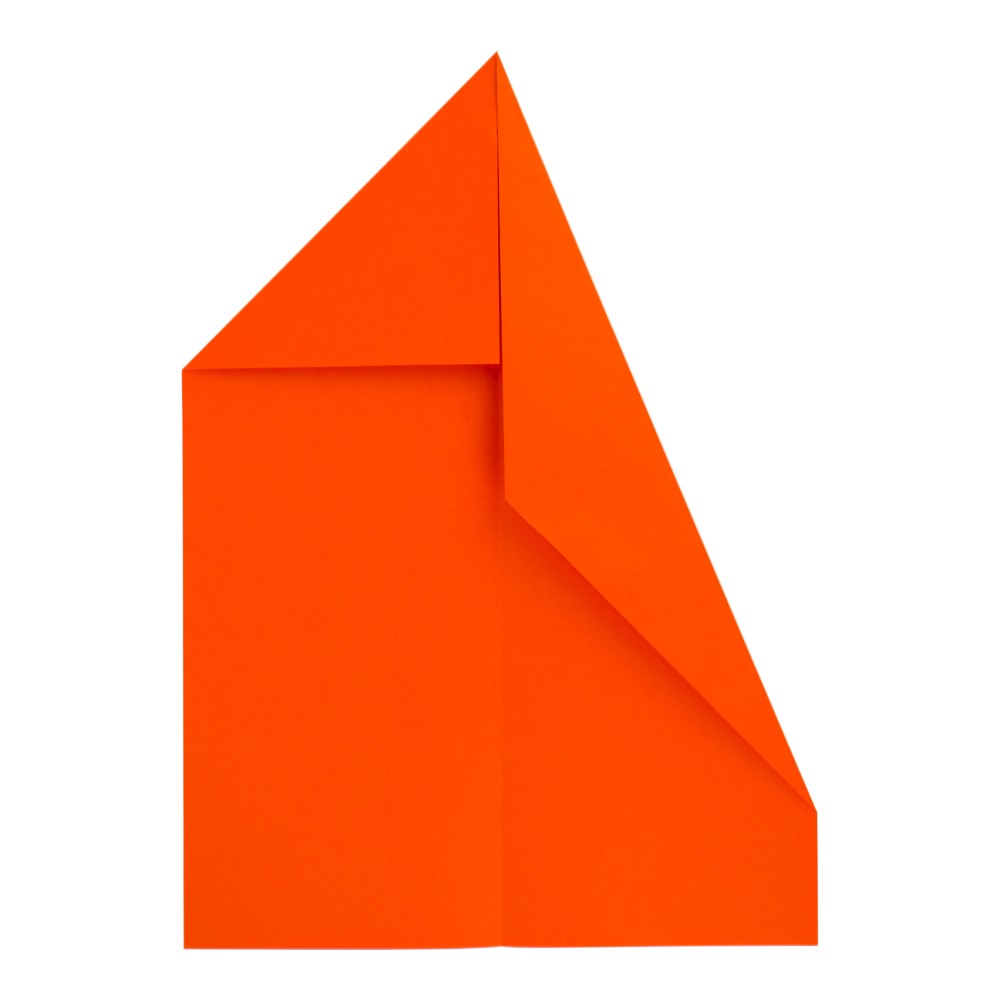
Fold the tip of the paper plane down to the bottom.
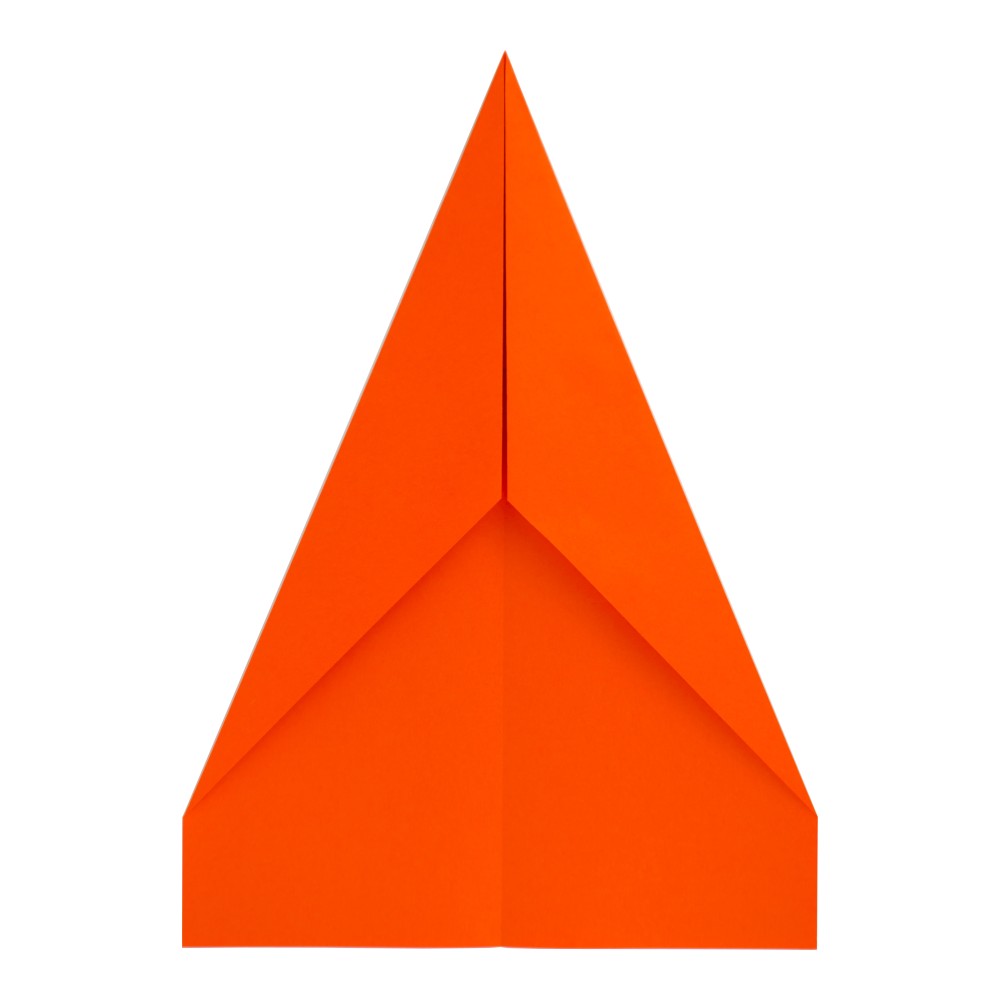
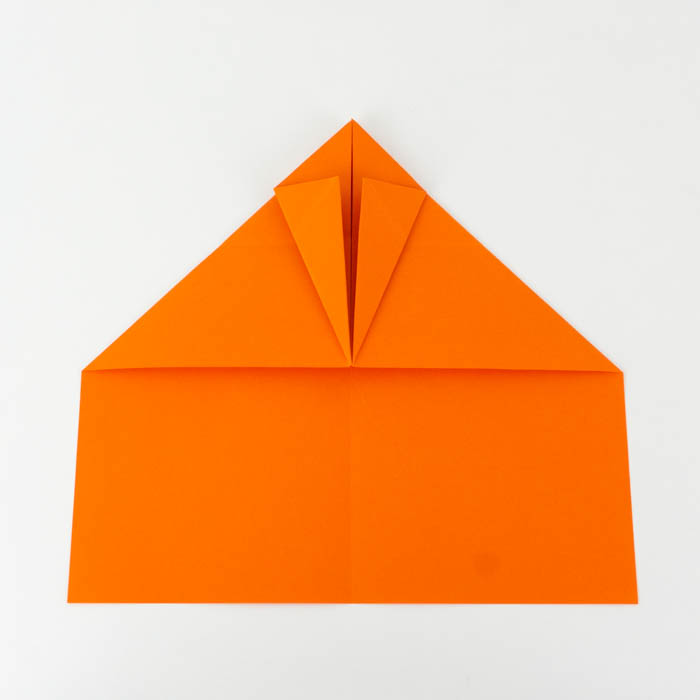
In the next step you have to fold the top edges one more time to the middle fold.
Fold up the tip of the paper plane that you just folded down.
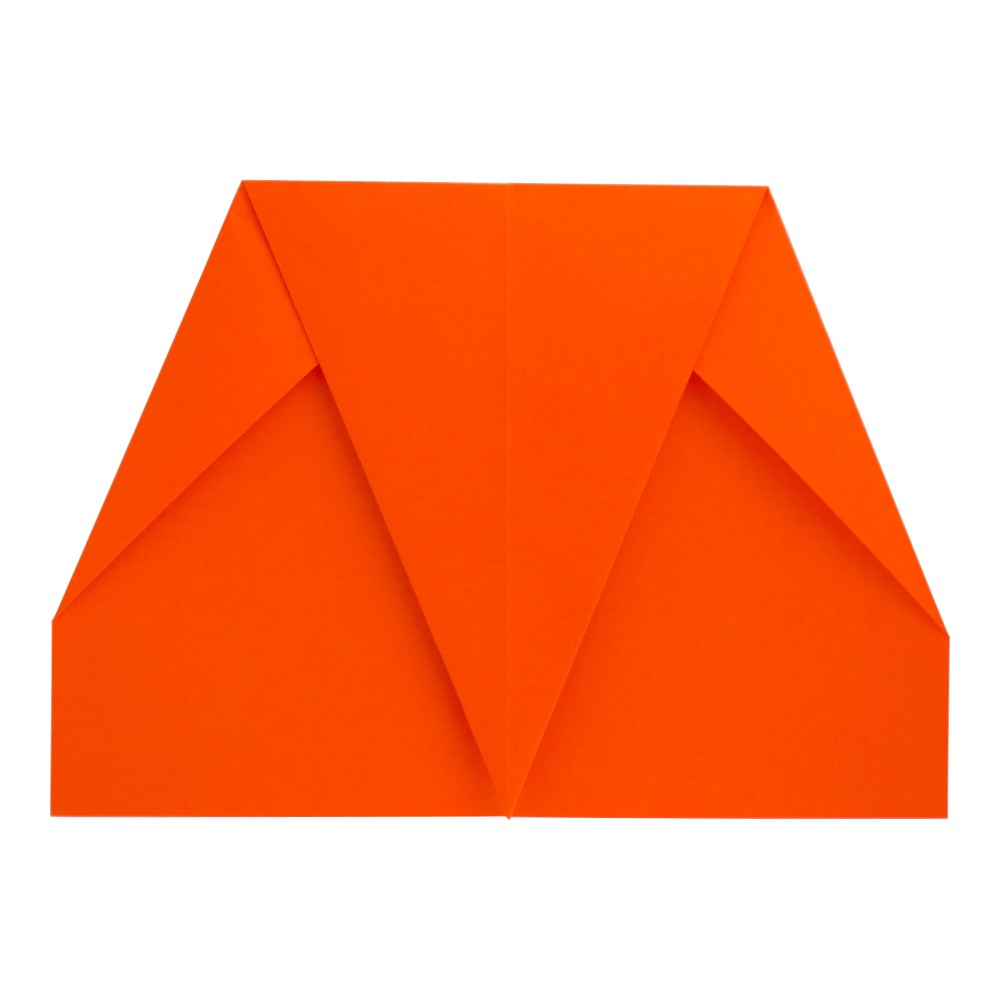
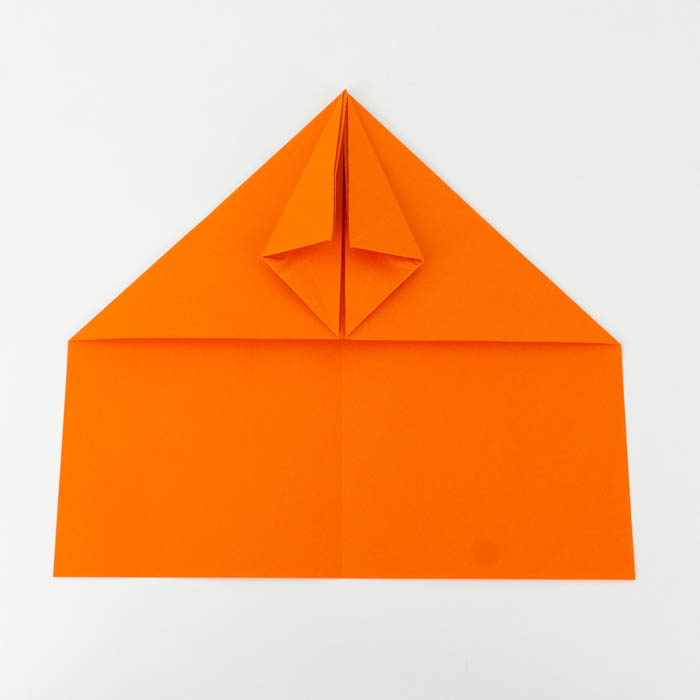
Then you have to fold the paper airplane in half.
Now you have to bend the wings. Make sure that you leave a grip edge at the bottom of the paper plane about 1-1.5 centimeters.
Unfold your paper plane and all that is missing is the winglets on the plane.
Now the outside of the wing of the paper plane is folded towards the central spar.
Now bend the outer sides of the wing to the fold you just made.
Raise the winglets of the paper plane and your plane is ready.
It is recommended to throw the plane at a slight upward angle. Pay attention to your throwing power. If you throw the paper plane too hard, it will overturn and not fly in a straight line.
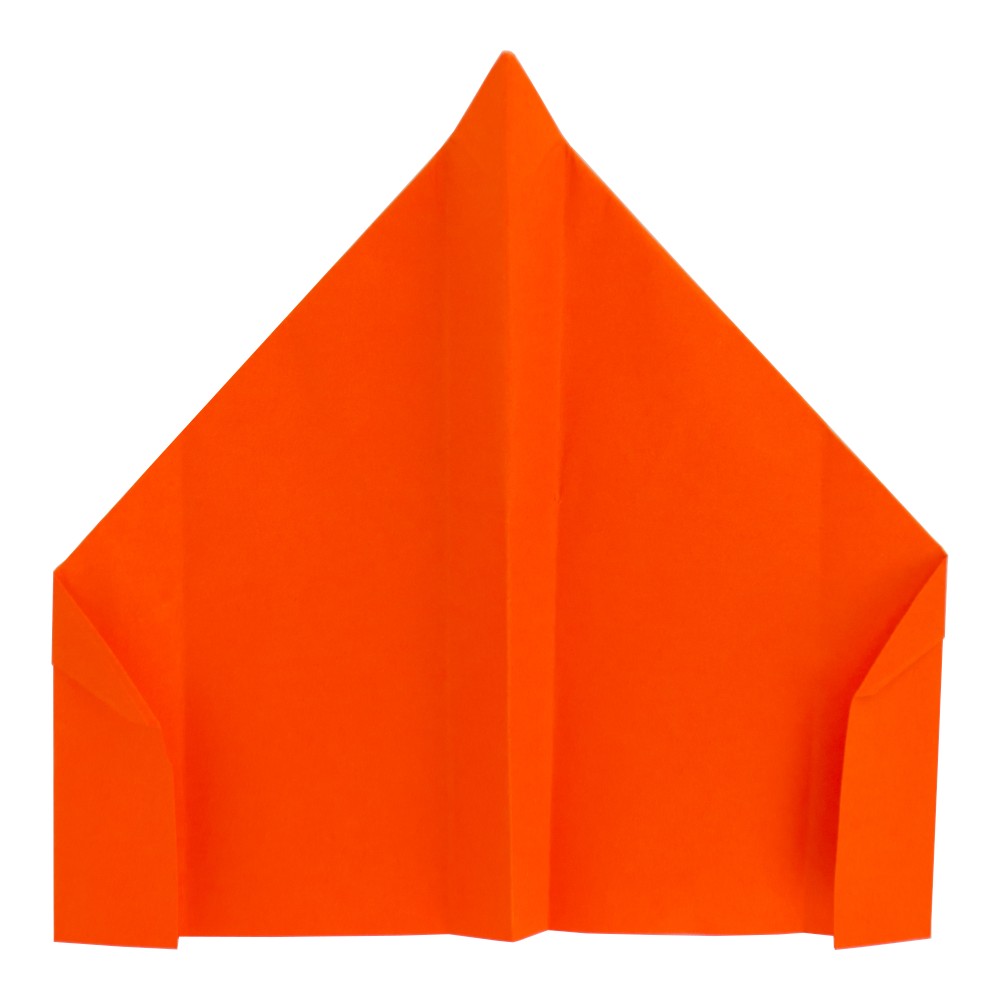
Paper airplane instructions: the Arrow
This arrow is probably the fastest paper airplane that you can fold. This paper plane is specially designed for speed. Due to the small wings and the pointed shape, this aircraft flies particularly quickly. It is not only the speed that makes this plane special, but also the easy folding of the paper plane. Everyone should be able to fold the arrow.
Manual:
Place the paper on edge in front of you.
Now fold the paper in half and then unfold it again.
Then you take the upper corners and fold them to the middle fold.
Fold the already folded edges again to the middle.
In the next step you have to fold the edges one more time to the middle fold.
Fold the paper plane in half.
Now bend off the wings. The edge of the handle should be about an inch.
Open the paper plane and the arrow is ready.
Throw the arrow with more force than other paper planes. Due to the small wings, this aircraft does not have too much lift and this has to be compensated for by the speed with which the aircraft is thrown.
The Glider

This classic glider is a tried and tested model that is very easy to fold. The plane impresses with its long and stable straight flight. In this post, I’ll show you how to fold this simple paper plane.
Manual:
Put the paper (A4) upright in front of you.
Then fold the paper in half.
Now take the upper corners and fold them to the middle of the paper plane.
Then fold the upper edges towards the middle as well.
Now bend the paper plane at the middle edge.
Leave about 1.5 centimeters on the lower side of the paper plane (here the right edge) and fold the wing over from there.
Repeat on the other side. Make sure that the wings of the paper airplane are aligned. That makes for a better trajectory.
Just fold the outer wing sides about 1-1.5 centimeters upwards at right angles and your paper plane is ready.
The Hawk

The hawk is a paper airplane with a very distinctive snout. Thanks to this snout, you can always recognize the hawk. I’ll show you how to fold this plane and you will see how well this paper plane flies. All you need is paper in DIN format. I use A4 paper.
Instructions:


The wings of the hawk often fall apart in flight. Take a strip of scotch tape and glue both wings together. The wings should no longer slope down. This is how you can improve the flight time of your paper plane.
The next trick will improve the length of time your paper plane is held. Take a long strip of scotch tape and tape it to the bottom edge of the fuselage. Your paper plane is better protected against hard landings and moisture.
Fold the wing tips up about an inch. These protruding edges (winglets) give you more stability in flight.