


Our expert guide outlines how to build and aquarium yourself, with step by step tips and advice to make the job easy.
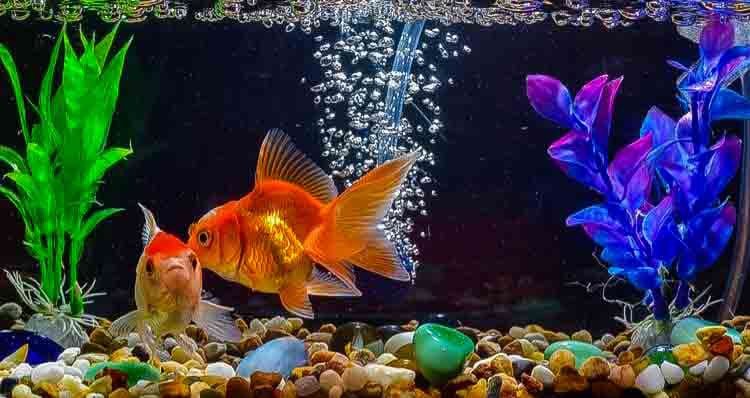
An aquarium is a beautiful hobby, but can also be expensive. In addition to increased costs for electricity and water, an aquarium also requires a lot of accessories. But if you want to offer your fish, or sea turtles a great home, you can build an aquarium yourself. Please read our construction guide with helpful tips.
Find more great pet ideas and guides
1. Build your own aquarium: Define shape, size and material
Before you start aquarium construction, you should think about the shape and size. For example, you can build a rectangular aquarium, which is also the simplest form. In addition, there is a corner aquarium, a nano cube or an aquarium with panoramic glass, i.e. curved windshield.
If you have chosen a shape, set the size.This is usually dependent on the later aquarium inhabitants. In general, a basin can never be too large. An aquarium with plenty of space for its inhabitants also has the advantage that water quality is often better, so that the maintenance effort is reduced.
You can also build an aquarium made of glass or plexiglass. Glass has the advantage that it looks timeless. However, you should keep in mind that a large aquarium made of glass also weighs a lot. A variant made of plexiglass is much lighter, in which a panoramic pane is also possible. The disadvantage of the flexible plastic, however, is the susceptibility to scratches.
2. You need these parts to build an aquarium
Good to know: Measure beforehand how large the glass panes can be. Good planning will help you to make the project a success.
In addition to the individual glass panes for the floor, the front, the rear wall and the side panels, you also need the following accessories for aquarium construction:
- Strips for stabilizing the windshield and rear wall.
- Special silicone for aquarium construction.
- Spirit as a cleaning agent for the discs.
- Kitchen roll and newsprint as a backing.
- cutter knife or other sharp blade.
3. Build an aquarium: step-by-step guide
You can build an aquarium made of glass or plexiglass.
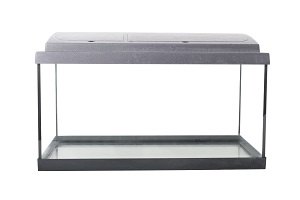
Before thinking about other components, you first need the body, i.e. the basin itself. The following construction instruction shows you how to build a rectangular aquarium made of glass yourself.
3.1. Clean the glass panes
Before you start aquarium construction, make sure that all glass panes are dust-free and grease-free. This is especially important at the edges of the discs, as they are glued together with the help of the silicone. However, if there are residues such as dust and fingerprints on the glass or plexiglass, the silicone may not adhere properly and the aquarium will get leaks. So soak a lint-free cloth with spirit and wipe the slices and edges thoroughly with it.
3.2. Position the glass panes

Decide whether the aquarium should be with or without a lid.
After that, you should lay the glass panes on a flat surface in the way you want to glue them together. This means that you place the disc for the floor in the center and arrange all other parts for the back panel, the front and the sides around it. Check with a top view whether all discs are in the correct position. Lay out the substrate with newsprint beforehand. This prevents you from lubricating the work surface with silicone.
3.3. Apply the silicone to the glass panes
In this step, you glue the glass panes together, so you should work very carefully. First, cut out the Nozzle of the silicone cartridge L-shaped and apply a uniform silicone stripe at the bottom of the side parts. Siliconeate the back panel and front at the bottom and both outer edges. Then place one disc after another upright and press it slightly together. Be sure not to press too tightly and displace the silicone. The silicone mass between the individual discs should be at least one millimetre thick.
3.4. Let everything dry well
Finally, if all the glass panes are set up and aligned, start with the completion of the aquarium. Allow the construction to dry for at least a full day. During this time, avoid touching the almost finished aquarium so as not to interfere with the curing process of the silicone. Remove possible remnants of silicone on the outside of the aquarium after 24 hours with a sharp blade. Inside the pelvis, leave the silicone edges untouched to avoid any damage or subsequent leaks.
3.5. Glue the sides to the back wall
Craft matching decorations and buy aquarium plants.
In the final step, glue the glass strips to the back wall and to the front for stabilization of the pelvis. It is also important to clean the strips as well as the discs so that the silicone can adhere well. After that, the strips are placed about two centimeters below the upper edges. For curing, you can stabilize the strips with matching wooden posts, which you place as a support under the strips for as long as possible. These bondings also require a 24-hour drying phase. Finally, the cleaning of the pelvis is repeated, in which you take care not to damage the adhesive fold. Outside, you can also use glass cleaners for cleaning.
4. How to build more elements yourself
In addition to the body, you can also build other parts such as an overflow, a back wall, a lid or decoration for the aquarium itself.
| AQUARIUM ELEMENTS |
|---|
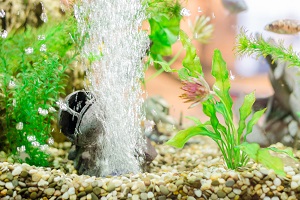
| OVERFLOW: An overflow prevents the aquarium from overflowing and also helps with water changes.The overflow, for example, is built similar to a siphon made of PVC pipes. |
| REAR WALL: An individually designed rear wall visually enhances the aquarium with a chic design.For this purpose, you can, for example, form rock walls out of styrofoam and fill them with tile glue. |
| LED: A lid prevents aquarium residents from jumping out. You can also integrate the lighting and the feed tray into the lid. |
| DECOR OBJECTS: With furnishings, you can offer your fish other hiding places besides the plants.Using modelling compound or clay, you can make beautiful decorations yourself. |
If you build a lot yourself, you also save a lot of money. The prices for an aquarium including accessories are still affordable as a complete set with up to 100 €. The larger the tank and the higher the equipment, the more acquisition costs you should plan for a finished aquarium.
5. These things you should buy
In addition to the actual basin for the fish, however, you also need functional accessories such as a pump, a filter, a heater and lighting, as long as this is not already available in the self-built lid. Aquarium plants are also an important component, as special plants prevent algae and keep water quality in balance.