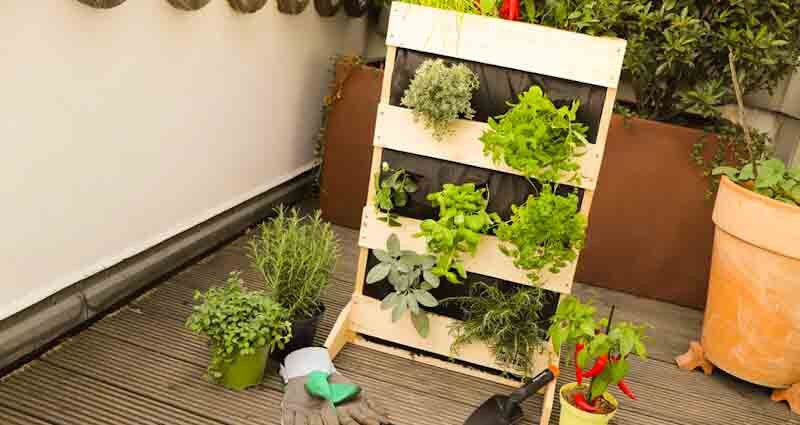


You want to garden on the balcony, but there is not enough space for it? No problem: These mini beds are built quickly and don’t need much space. Our step-by-step guide shows you how to build a mini garden for the balcony.
The balcony garden is a real weekend project: buy material on Friday afternoons, build and paint plant beds on Saturdays, sleep out on Sundays and then use the plants bought in pots. Promised: Herbs can be harvested from your own garden for the salad in the evening!
A “vertical garden” is especially suitable for balconies and terraces, where there is not much space. The bed grows here in height, not in width. We will show you how to do this in this guide.
Build a Mini garden for the balcony: Which wood?
Outdoor wood is exposed to the weather. Spruce and fir wood is cheap, but in the long run you won’t enjoy it. Instead, grab Douglas fir or larch,this wood is more weather-resistant.
In addition, wood protection with glazing or varnish ensures more durability. However, make sure that the treated wood has no contact with the plant soil.
Mini garden for the balcony: material and tools
- Wooden boards dimensions 9 x 1.8 cm: 2 x 78 x 9 cm (upright sides), 8 x 60 x 9 cm (crossbars), 1x 56.4 x 9 cm (floorboard) and 2 x 35 x 9 cm (feet)
- Earth, approx. 40 litres
- Herbs in a pot (approx. 2 to three pieces per floor)
- Nonwoven bag (approx. 80 x 60 cm)
- Wooden screws (4 x 40 mm)
- Possibly varnish and brush
- Jigsaw
- Cordless drill/drill
- Battery abrasive
- Office tacker
- Cutter
- Pen and scissors
- Gardening gloves
- small shovel
Build a mini garden for the balcony: instructions

Step 1/11: Draw and cut
First, the individual components must be drawn and cut (see material list).
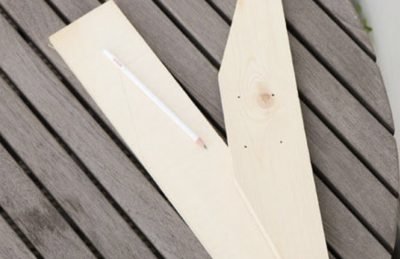
Step 2/11: Base
For the slants of the foot parts, mark about half on the short sides and divide the long side into thirds. Then connect both nearby points and cut off the resulting triangle with the embroidery saw.
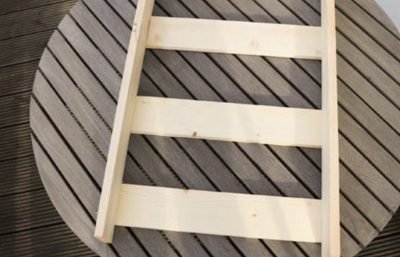
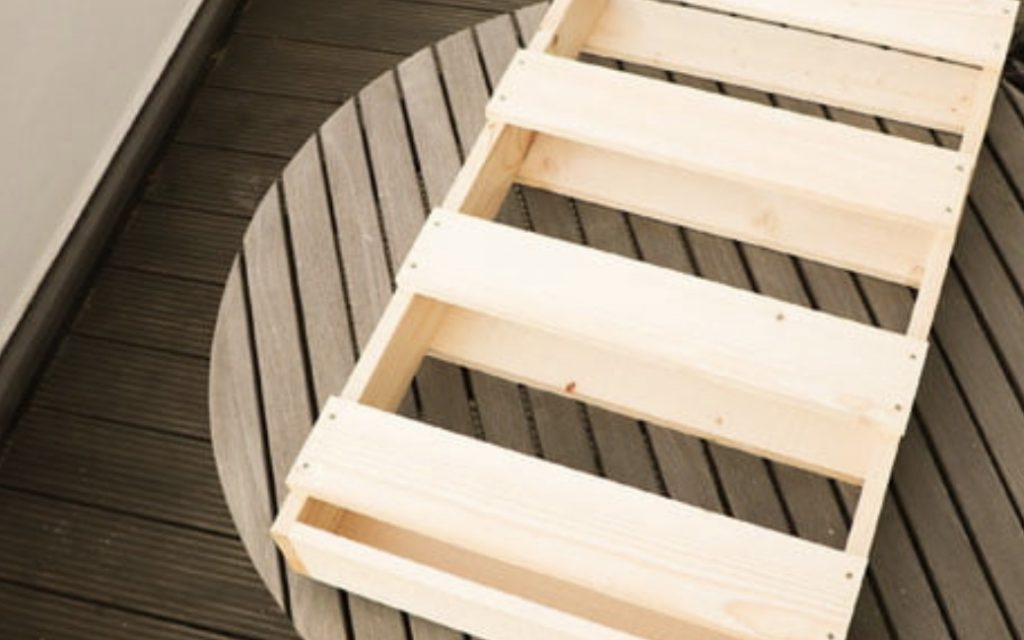
Step 3/11: Screw the front
Place the two long side panels upright parallel to each other. Start flush at the top end to screw the cross boards with even distance (approx. 12.5 cm) flush on each side part.
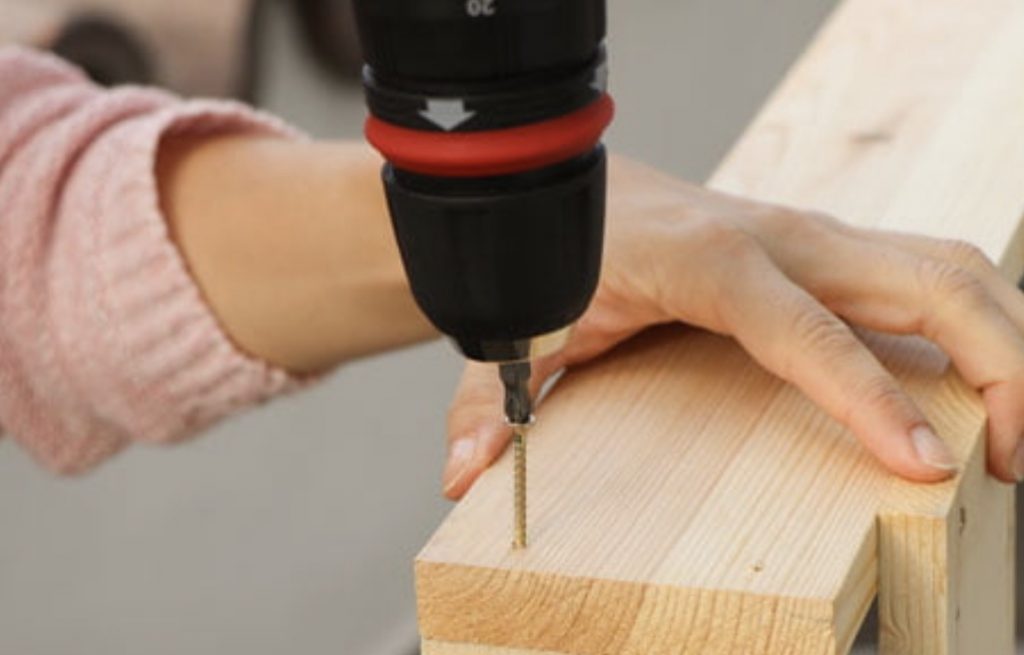
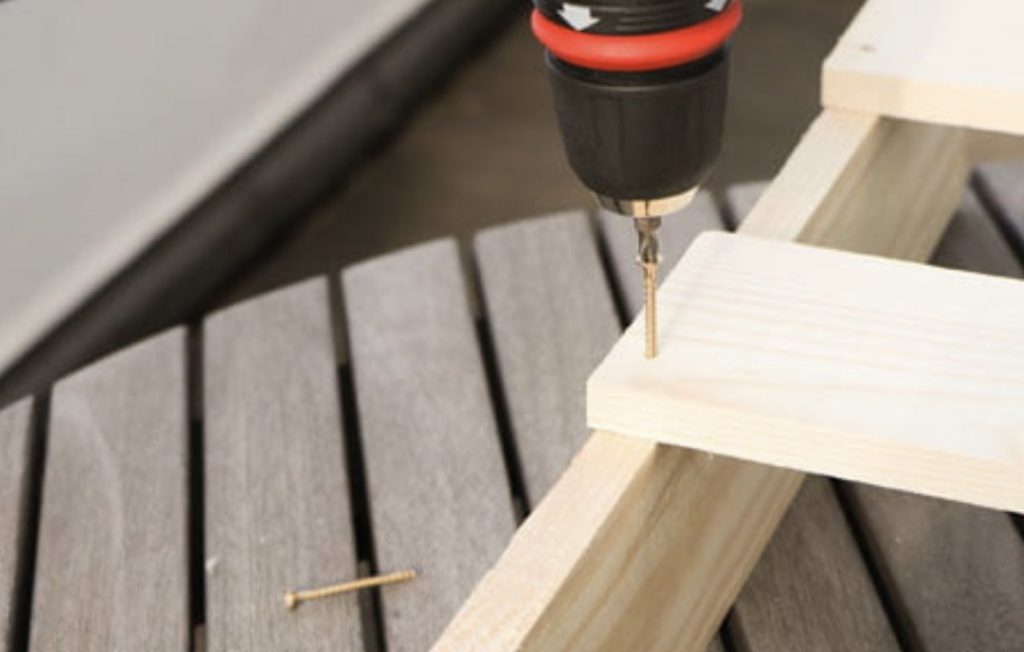
Step 4/11: Last Board
With relatively soft wood, you do not have to pre-drill. The lowest board ends a few centimetres above the board ends.
Step 5/11: Attach floor
When the front is fully assembled, clamp the floorboard at the bottom between the two sides. This should already sit relatively tightand and finish flush. If it no longer fits, you may need to loosen some screws again. Then fasten the board from the outside through the side parts with four screws each.
Step 6/11: Screw the back on
Now you can also connect the cross-connections of the back to the side parts, similar to the front. These should be placed at the same height as the boards on the front.

Step 7/11: Apply feet
The two feet are screwed flush to the ground at the bottom of the sides. The slants naturally point upwards. Attention: The screws should not collide with the fastenings of the floorboard!
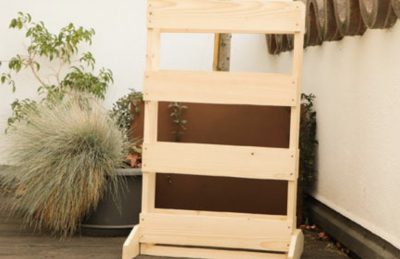
Step 8/11: Stable stand
Now the herb garden has a stable stand. And you can start to fill it.
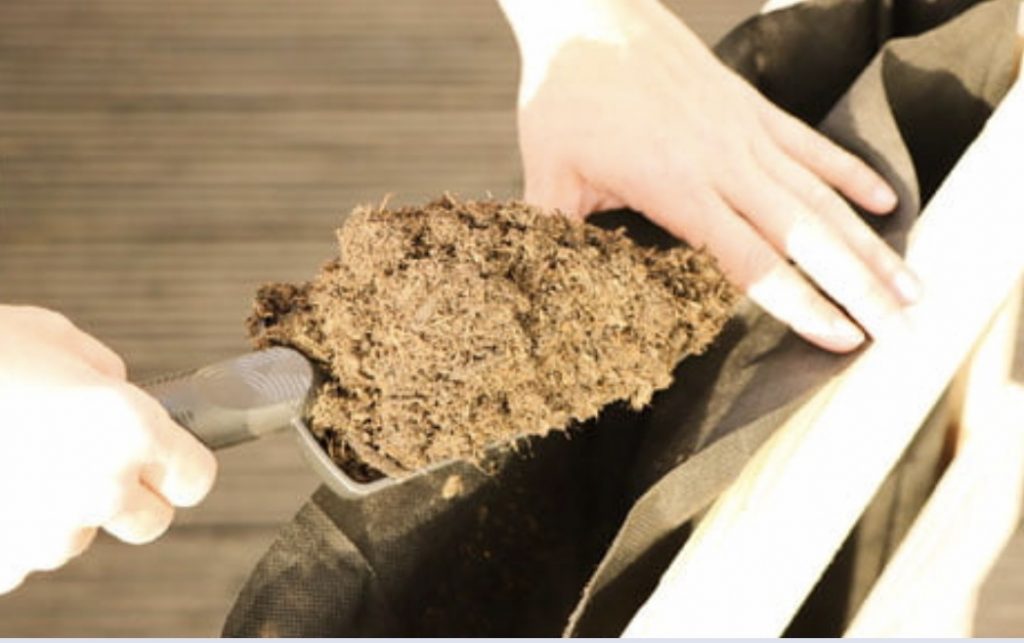
Step 9/11: Fill and plant
Place the vertical garden and insert the fleece bag from above. Here it is good to have a second helper, who holds the edge of the sack when the earth is then filled in.
Step 10/11: Add herbs
If the pot is full, you can now insert the herbs from top to bottom. Carefully place a cut in reverse T- or X-shape on the sides, if necessary take out some soil and then insert the herbs. The upper area is of course best suited for tall plants, the sides are perfect for strawberries or rather “hanging” specimens. Carefully pour in and enjoy!
 Gerhardt Richter is a writer and a trainer at trade technical colleges, specializing in carpentry, plumbing, mechanics and construction.