

In a bathroom, special tasks are assigned to the walls. This is primarily the waterproofing in the splash water area. We have therefore resorted to special wall panels. In the fourth step of the bathroom renovation, we show you how to install wall panels in the bathroom.
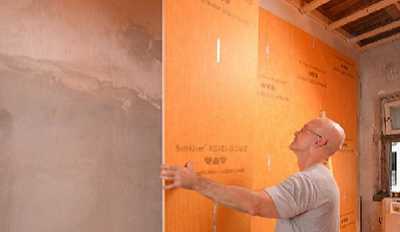
In a really old building you can not avoid mixing with the materials of the wall constructions. In our case, we have on two sides supporting and poorly plastered masonry, on the other two sides of the room we have our stand made of metal profiles itself.
In order to be able to permanently and tightly access the transitions and connections in the corners under the special climatic conditions of a bathroom, the planking of all walls with only one panel material makes sense.
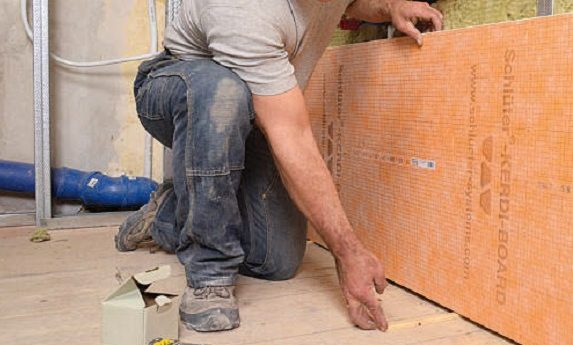
On the studs (center distance of the profiles 62.5 cm), the rigid construction panels are fixed with special drywall screws. On the old plaster, the boards can also be glued with mortar (“plaster”) on the back, which you apply a maximum of 30 cm apart.
In this way, you can achieve a surface that has already been prepared for further covering work on all walls and that does not require a primer or a special seal in the splash water area to install wall panels in the bathroom. Due to their elasticity, the panels compensate for movements in the ground without tearing on the surface. This is especially important for old walls with different plaster types.
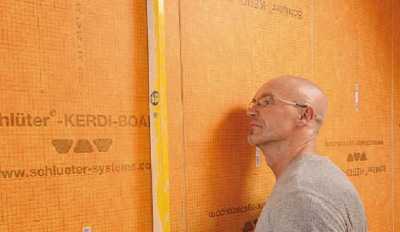
Install wall panels in the bathroom: Hard foam construction panels
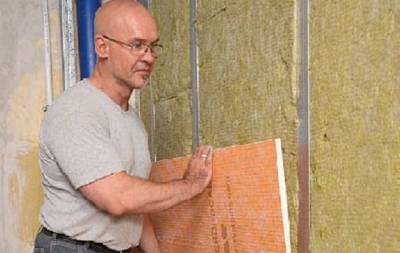
In the wet area such as the domestic bathroom can be used in the renovation as an alternative to conventional plasterboard and so-called hard foam construction panels.
They consist essentially of a very light hard foam core made of XPS (pressure-resistant, extruded polystyrene) and a double-sided lamination with a nonwoven fabric.
On the one hand, this fabric provides the whole thing with water-proofing, on the other hand, it provides a perfect surface without further priming, especially for all types of tiles, but also for fillers or plasters.
The plates are available in thicknesses between 5 and 50 mm, the plate size is basically (floor to ceiling) 260 x 62.5 cm. For the planking of studs a minimum plate thickness of 19 mm is recommended, for dry plaster with mortar piles 9 mm. The plate joints can also be glued to seal, the cutting is done easily with the cutter.
Install wall panels in the bathroom: The plate assembly
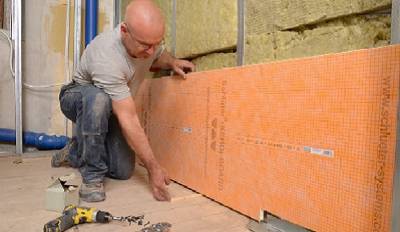
The same rules apply to Kerdi board boards as for gypsum board boards. The planking is transverse to the framework, the center distance may not exceed 62.5 cm.
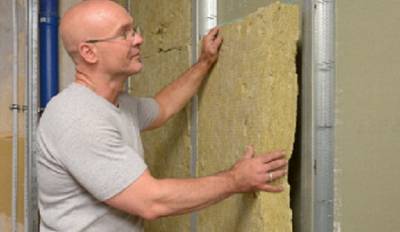
The compartments between the 100-section profiles fill with 80-wall partition insulation. Mats 10mm wider than the tray cut.
In order to secure the distance of 5-10 mm to the ground , place lumber under the first row. How to prevent structure-borne sound transmission.
Lay the building boards with at least one compartment joint offset to achieve a greater stability of the wall.
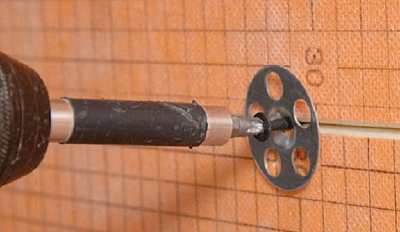
The soft plates hold the stand by special washers under the drywall screws. These put you in the joints as well as in the surfaces. The screw distance is a maximum of 25cm.
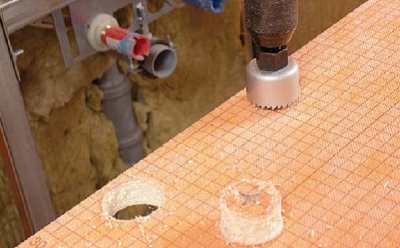
For recesses like on the washbasin use a suitable hole saw. Cutouts always 5-10mm larger than the pipe cutting.
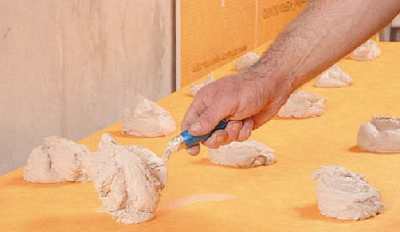
For dry plaster on uneven surfaces, place mortar on the back. The maximum distance is 30cm.
The construction boards can be glued edgewise. Pay attention to the 5 mm joint to the ground and press the plates firmly.
With the spirit level you adjust the position. Above all, it is important that no joint offsets arise.
Seal joints
Even if the plates themselves are waterproof, you will of course have to rework the butt joints.
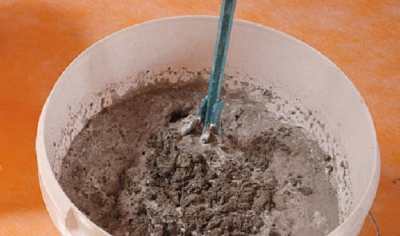
You must mix the filler from two components to seal the joints and screw points.
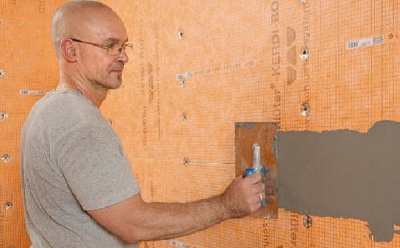
Pull the mass over all longitudinal and transverse joints as well as the screw heads.

In the joint area, press the sealing fabric into the fresh mass when you install wall panels in the bathroom. This makes the joint watertight and the wall remains flexible.
 Gerhardt Richter is a writer and a trainer at trade technical colleges, specializing in carpentry, plumbing, mechanics and construction.