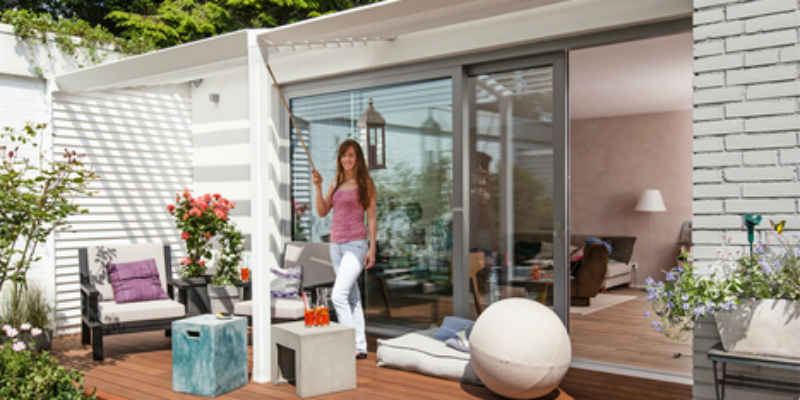


Get the flair of a beach house in front of your own living room, when you build a wooden deck with louvered roof using our step-by-step guide.
Admittedly, this atrium bungalow offered itself almost to build a covered terrace in the niche in front of the floor-to-ceiling glazed living room. The disadvantage of a roof, however, is that the space behind it always loses some light — even with bright white painted walls and roofs.
How to build a wood terrace deck
Build a wooden deck with louvered roof: why louvers?
The solution would be a roof that is translucent. Of course, this is easy with glass or multi-wall sheets made of perspex, but has the disadvantage that it likes to collect dirt and can accumulate in the summer under the heat. The solution is a so-called louver roof. So far, you could buy these patio shaders only made of aluminum, at prices, which could allow the purchase of a small car.Our version builds most comfortable with wood, and so we have developed a louvered roof, which is far cheaper than any purchase option, but as variable shade.
Of course, wood works and can not quite as accurately work as aluminum, which means that an absolutely rainproof wooden louvered roof is hardly possible. But with a sufficient gradient you can be protected during a short summer rain. And can increase the natural look with large rustic cedar brackets.
But what is the most beautiful roof without a nice terrace underneath? We have built a wooden deck from oil impregnated decking. The wood is quasi cooked under pressure in hot vegetable oil and so made dimensionally stable and durable. Here it is worth spending the slightly higher price for the material, because there are virtually no dimensional tolerances and everything fits. The assembly is very easy. You can obtain excellent materials from Global Decking Canada.
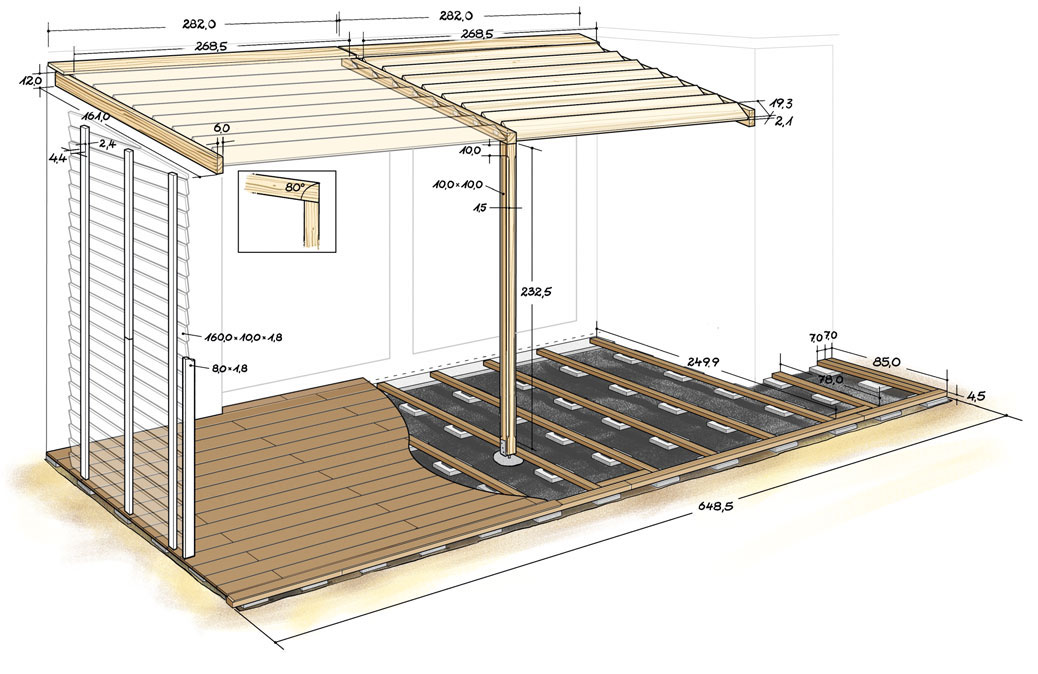
Build a wooden deck with louvered roof: the plan
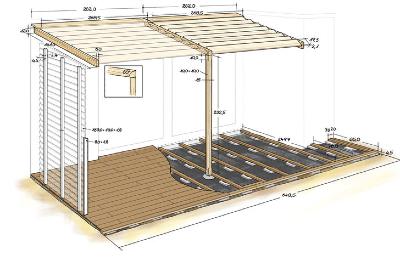
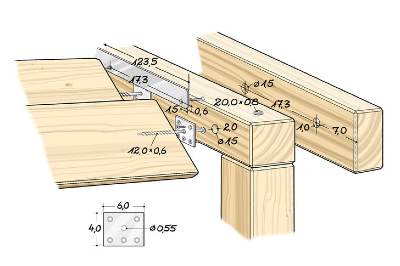
Everything at a glance : The drawing shows all important dimensions of the terrace and the roof. The construction is not complicated, but requires especially for the slats very precise work and a little patience for the drying times of the paintings and the concrete base. Click here to enlarge .
1. Prepare wood for the terrace
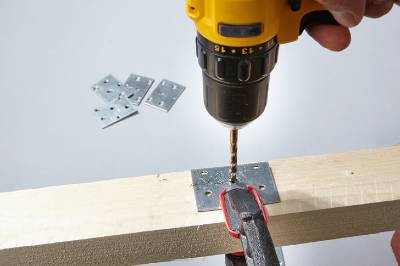
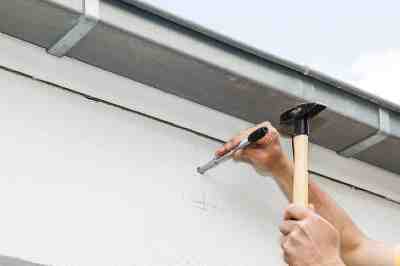
Drill center hole: So that the louvered roof is movable, it needs simple bearings. They are made of special screws and simple connector sheets (40×60 mm). The center hole is initially drilled to 5.5 mm.
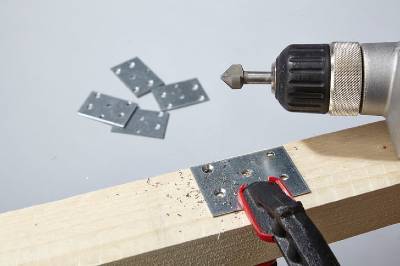
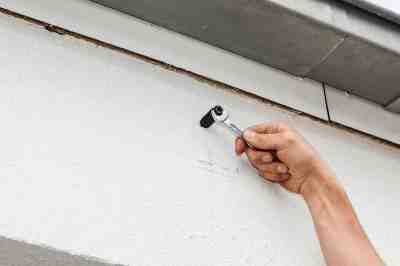
Lower mounting holes. The four outer mounting holes are countersunk, so that later the screw heads are flush.
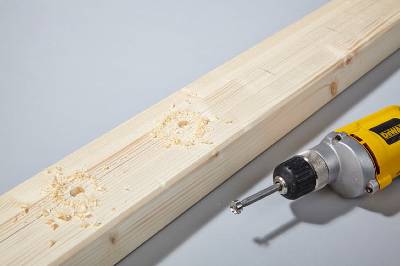
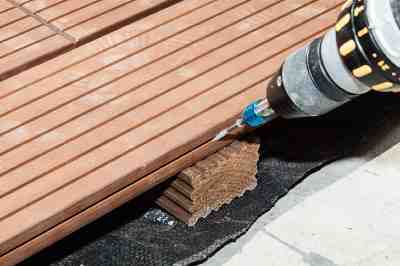
Drill blind holes. Movement space for the axles create blind holes. Here at a center distance of 173 mm, the panels overlap each other about 4 cm.
Drill driving profile. At the same distance, the driver profiles are drilled out of aluminum with a diameter of 4.5 mm.The holes are 6 mm from the edge.
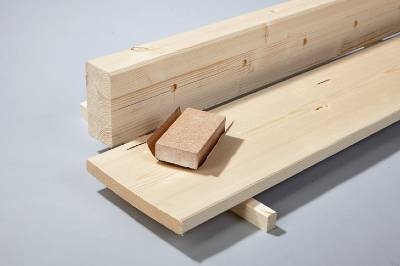
All edges are chamfered with 120 grit paper. This is important for later painting, so that the paint film does not tear at sharp corners.
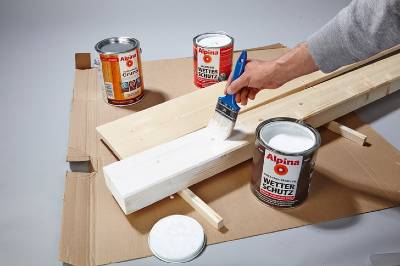
All wood parts are painted with blue protection, insulating primer (also with softwood) and twice with weatherproof paint.
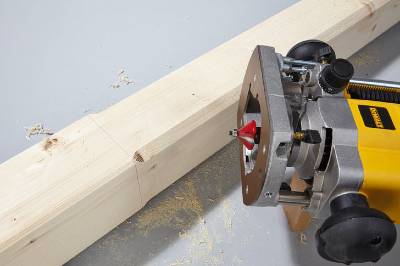
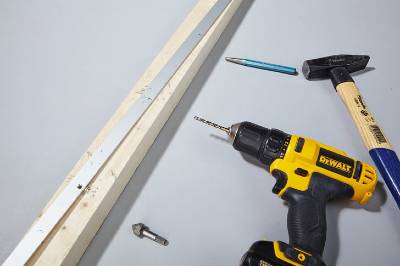
The corners of the support post are each milled a 10-mm bevel, then it looks slimmer.
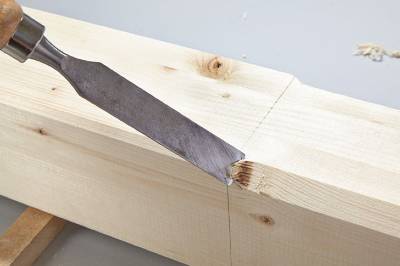
The ends of these chamfers are tapped straight with a chisel.
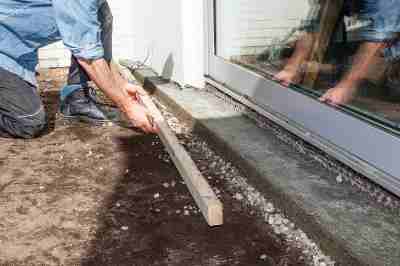
2. Prepare the surface for the terrace
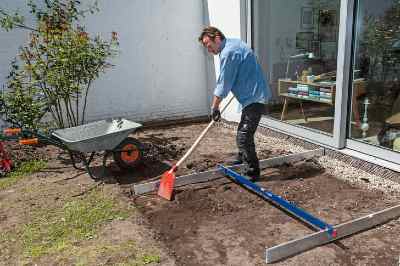
Distribute plate sand. If the ground is firm and stable, it will be brought to the required level. If necessary, spread the board sand 5 cm high and shake it.
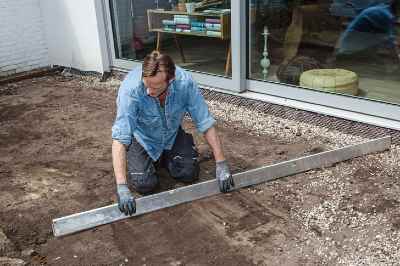
With a straight edge (long spirit level) the floor with 2% slope away from the house (bladder pushes against the mark of the spirit level level) pull off smoothly; top up if necessary.
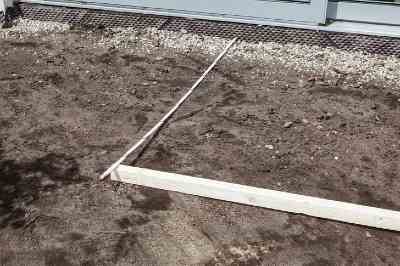
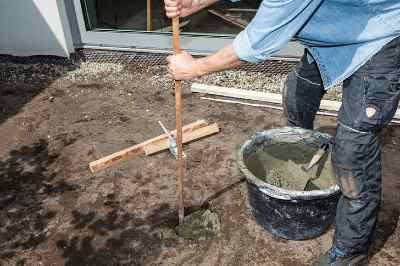
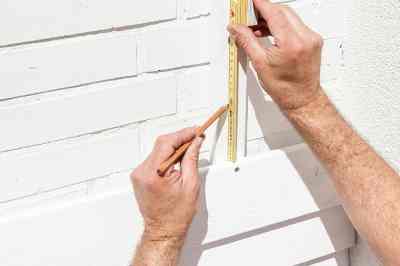
Measure the center point for the roof post with a crossbar and a folding rule and …
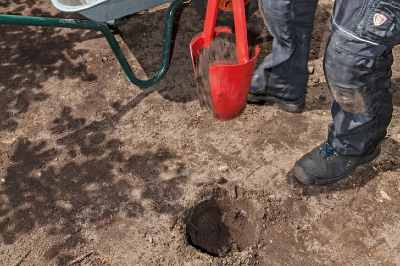
… dig out 60 cm deep with a hole spade.
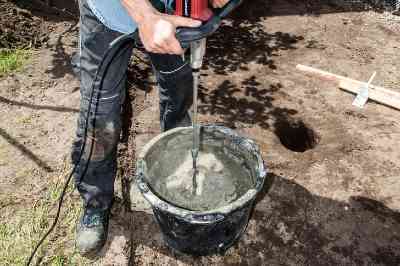
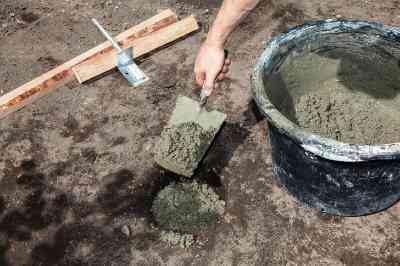
Mix screed concrete. If you do not have it, you should borrow a stirrer for mixing screed concrete mix.
Now fill the hole with concrete in about 20 cm high layers.
Each layer is compacted by poking with a slat or the like.
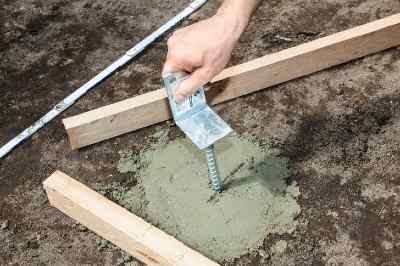
Finally, insert the post shoe (here it is an angle) at the measured point, align with slats in height and fix.
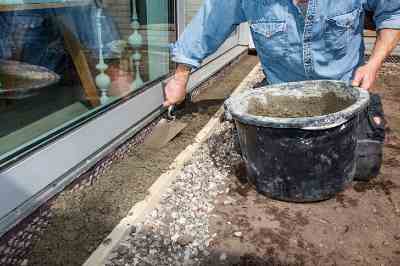
On a gravel strip against frost damage a threshold of screed concrete is poured at the house. It already serves as a support for the terrace substructure. A batten serves as formwork.
When constructing the threshold, check the height again and again, so that no step is created later.
3. Build a wooden deck with louvered roof: Substructure
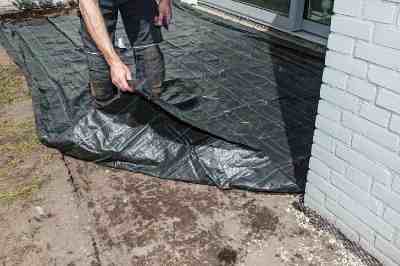
Remove the formwork. Once the concrete is firm, the “formwork” is removed. But you should give it at least a week to harden.
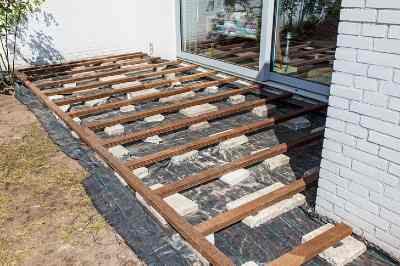
So as not to welcome weeds in the terrace joints, a weed protection is laid out over the entire surface (here a “ribbon fabric”, alternative: weed fleece).
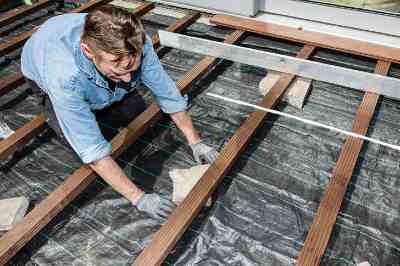
One photo, but several hours of work: The laid out substructure timbers are now lined with concrete slabs. In this case, a gradient of 2% away from the house must be adhered to without any differences in level between the slats. If you have, you can use old sidewalk tiles for the substructure here. To prevent waterlogging, special rubber pads are placed between concrete and wood.
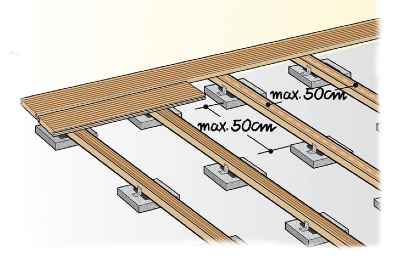
Substructure: dimensions. For these planks, the substructure should be created in a 50 x 50 cm grid.
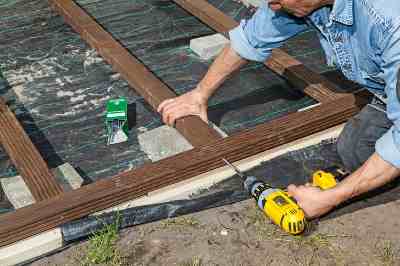
At the front, the woods are connected with a lath and 120 mm screws.
Once the substructure is in place, check it one last time for possible springs and downhill gradients.
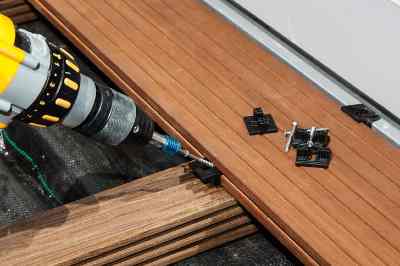
The installation system we used offers retaining clips that fit into the side groove of the board and are screwed onto the substructure.
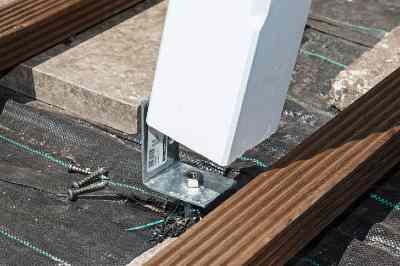
Attach posts. Before the planks meet the post, it is first fixed to the support bracket. An underlaid stainless steel nut protects it from moisture, and three mounting screws (Spax) for post shoes hold it.
Screw together row of boards. The last row of boards is screwed at an angle through the groove on the substructure.
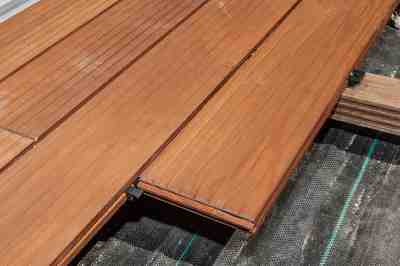
The profiled ends of the boards do not necessarily need a substructure, but should be secured with an inserted retaining clip against lateral work.

Release plank. At the post, the planks are notched so that they are a few millimeters apart.
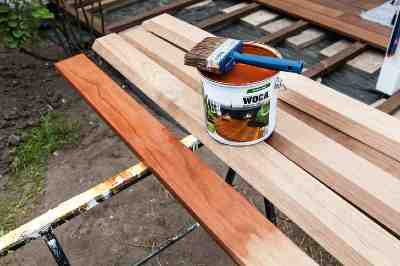
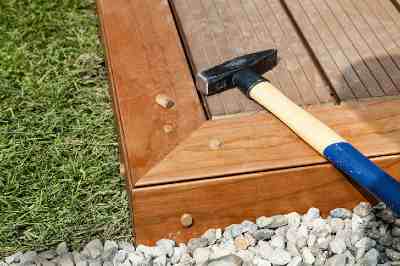
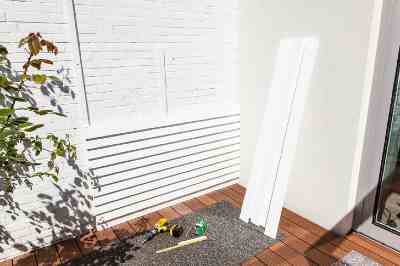
Treat skirting boards with oil. This wooden deck features 2.5×9 cm skirting boards with a 45 ° long edge, which require oil treatment before installation.
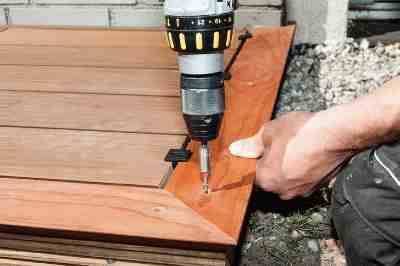
Screw on the edge strip. Mitred at the corner, they are screwed to the substructure. Pre-drill and drill a 10 mm blind hole.
Close holes. Supplied transverse wood dowels and a drop of water-resistant glue close the holes.
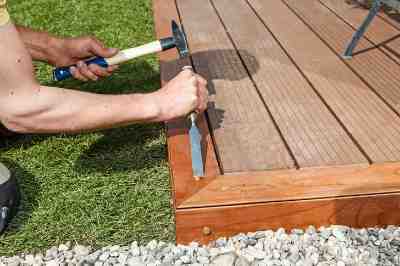
What sits proud is removed with a sharp chisel and re-oiled.
4. Build a wooden deck with louvered roof: Roof mounting
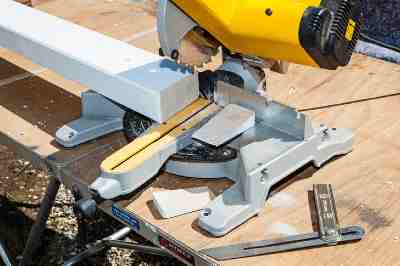
Saw off the front side. The side roof girders (6 x 12 cm) are mounted with at least 10 ° incline. To do this, saw off the front end at the appropriate angle so that it is aligned vertically.
The carriers are fastened with three 120 mm long nail dowels (Fischer) each. So they do not attract attention, they are painted over with white weatherproof paint. The same thing is done with the re-sawn end grain side.
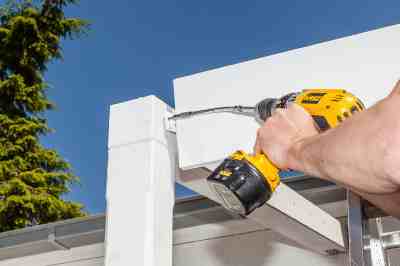
The central roof rack had to be fixed to a wall with external insulation. Here must be put a thermally separated attachment. This is easily possible with the “Thermax” (Fischer). It has a universal thread for a nylon plug (is carefully hammered into the hole) and in the insulating plastic part of a metric female thread for a mounting screw.
Use an open-end wrench to screw the “Thermax” into the insulation until it closes almost flush, the rest is done by a light hammer blow – but the hole must be drilled deep enough.
Now mount the support bracket for the roof center support with an M8 machine screw.
The center post is still 3 m long and must be shortened to the correct length. For this, the height and angle of the side beams must be transferred with straightening or hose scale and Schmiege.Mark cut and saw best with a foxtail. Now you can grind, pierce and paint the bevel at the post edges.
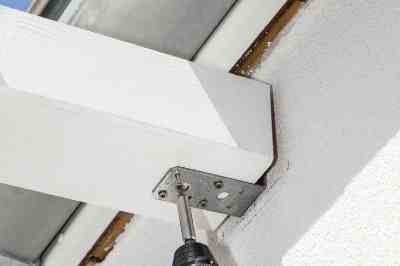
Miter the ends of the center support. Lay on the wall on the support bracket and mount from below with stainless steel screws. Let some air to the wall.

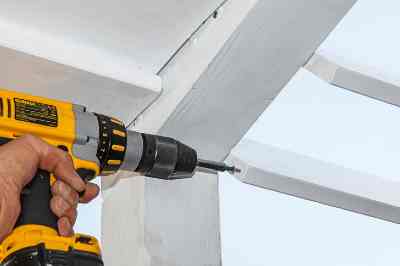
The posts and girders are connected with a 200mm panhead screw
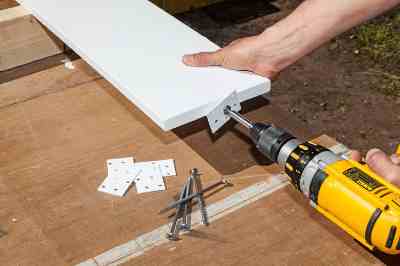
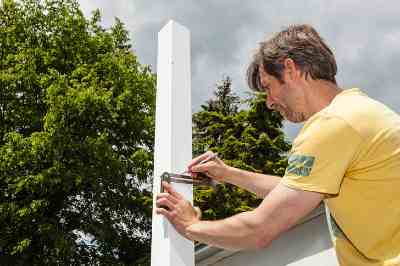
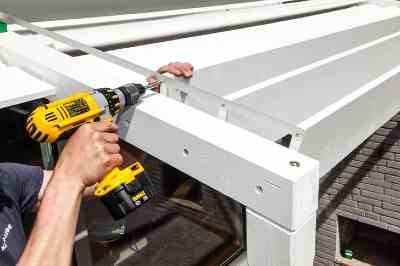
The same screws, but only 120 mm long, are now inserted through the center hole of the “bearing plates” and screwed into the middle of the front edges of the slats.
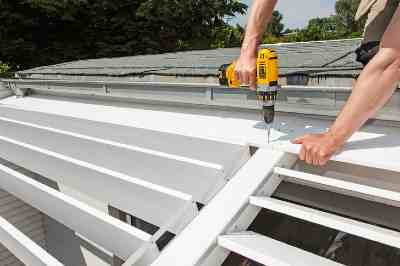
Screw on the slats. First, only the two front slats are inserted and screwed. For that you need a flexible shaft. Now the post is stable. The screws of the louver bearing plates sit so close to the louvers that you can handle them only with a flexible bit holder. There are in the specialized trade and in the well-assorted hardware store for around $15.
Now all slats are added…
… and then placed vertically to screw the two driver aluminum profiles on the side.
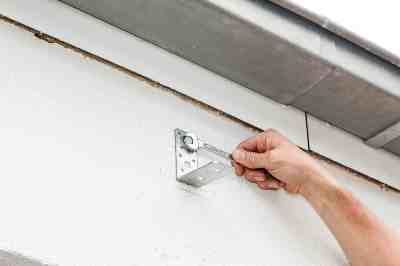
Here you can see again the fittings and their mounting position.
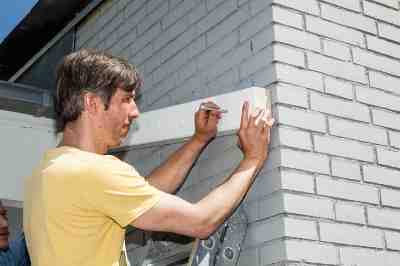
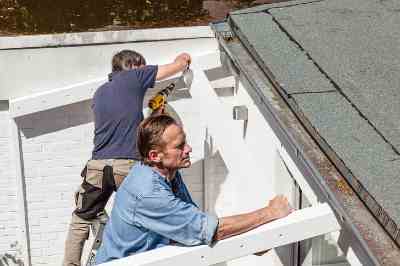
The cladding of the brick wall with clinker-mounted, pre-painted boards (18 x 100 mm) completes the beach house character of the louvers roof.
Three strips form the substructure. The middle prevents only the yielding of the boards when leaning. The boards are fixed to the upper edge with stainless steel screws (3 x 35 mm) so that they overlap 2 cm.
Not everyone has a large niche in front of the living room window at home to build a roof between the side walls. That does not have to be, because instead of the side roof racks you can also build a post-beam combination on the outside like here in the middle. There is a difference in this free-standing version of the louver roof: The front louvers must be rigidly installed, or – better – the roof gets a panel of about twelve centimeters wide boards, each running from post to post and there with two screws to be assembled.
Our slats are just under 2.70 meters long. With a material thickness of about two centimeters, they must not be longer, because then they would sag too much in the closed state. Much thicker is not synonymous, because then they are too heavy for easy operation. So rather put a post more than one too little.
In any case, the dimensions must be adapted to the local conditions. Although this is a little bit of work, it is rewarded with an immovable moving shadow donor.
No matter how you build your new summer oasis, we guarantee that your living room will be several square meters bigger in summer.
5. Slats for the roof
Screw on the cover. At the house roof overhang and downpipe would prevent the mobility of the slats. Here we have screwed a fixed panel on the roof rack, the …
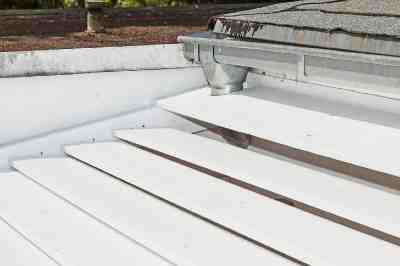
… the slats projected about 4 cm and the rainwater pipe clean surrounds.
To adjust the slats, a small stainless steel screw (4 x 25 mm) is screwed laterally into the lower edge of the first slats.
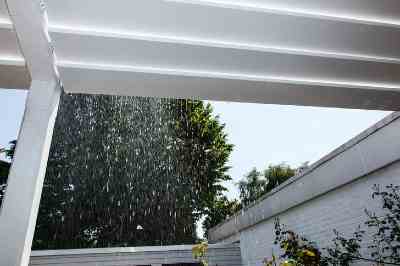
When closed, the roof still offers a play of light in the sun and some protection in a short summer rain.
 Gerhardt Richter is a writer and a trainer at trade technical colleges, specializing in carpentry, plumbing, mechanics and construction.