


In the garden, do you lack the right trees to attach a hammock? No problem with this practical construction! Build a hammock stand in easy steps.
First tinkering, sawing and drilling in the workshop, what the stuff holds, then lazing with a good book or the favorite magazine in the garden – that’s how we imagine a perfect Saturday. You too?
Then you should try this weekend project: in just a few hours, the hammock stand is ready for use to relax extensively after the work has been done. Especially if there are no trees or devices in the garden to securely attach the hammock, the construction of sturdy wooden beams and tension belts is a must-have.
How to build a four-poster garden day bed
Stand for the hammock: space-saving stowed
Select a strong hardwood. The hammock rack lasts for many years if you treat the wood with wood protection and place it in the shed or pack it away during winter snow or sleet. The beams are screwed with bolts and wing nuts. This allows you to quickly dismantle the frame and store it in a space-saving manner. With the tension belts, you can then simply tie the beams together into a compact bundle.
What you need to build a hammock stand
Material:
- 6 m construction solid wood 60 x 80 mm
- 14x Bolt M10, 80 mm
- 2x Bolt M10, 140 mm
- 16x Wing nut M10
- 32x Washers M10, 30 mm
- 2x 10 cm threaded rod M8
- 4x Bolt M8, 80 mm
- 8x Eyelet M8 with screw thread
- 2x safety hook with screw thread
- 2x Tension belt 5 m
- 6x Beam shoe
- 4x Flat connector steel, length 180 mm
- 60x Screws with lens head 50 mm
Tools: cordless screwdriver, Forstner drill (20 mm and 35 mm each), wood drill (8 mm and 12 mm), crosscut saw, stand drill
Cost: about $200
Effort: 24 hours
Hammock frame: sketch with dimensions
The hammock stand consists of a basic frame. The hammock is attached to diagonals, which are stabilized with tension belts and a middle beam. The diagonals are mounted with beam shoes. The two side beams running parallel to the middle beam can be moved closer to the centre (as we’ve done in the image above) if you find it more pleasing to the eye, but you will sacrifice a little stability.

In the following we show you in three steps how to build a hammock stand yourself.
1. Preparing the base frame
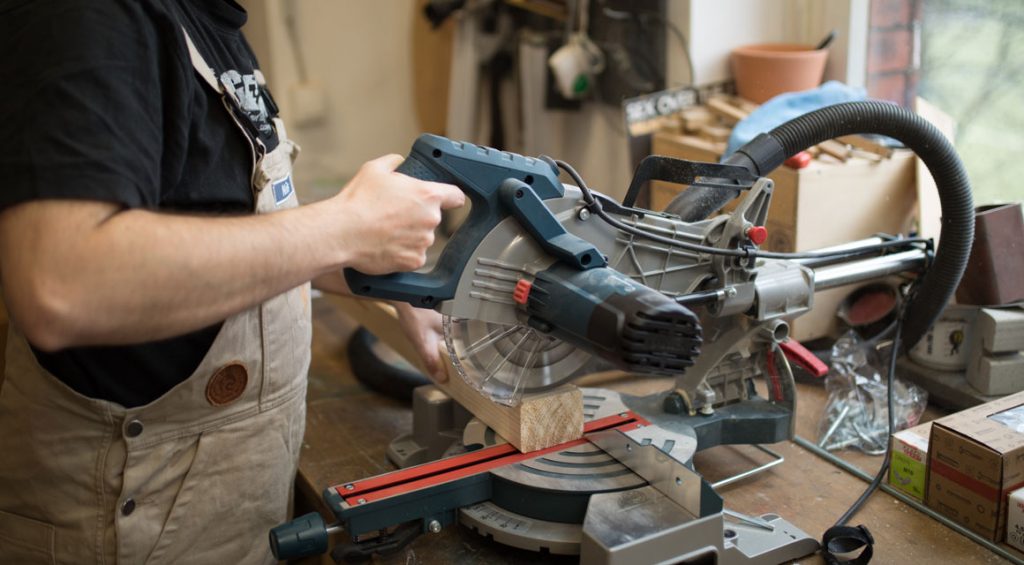
The base frame consists of two 1.55 meters and two 1.2 meter long beams. Due to eyelets on the cross beams, tension belts later ensure optimum stability. The crosscut saw is used for cutting.
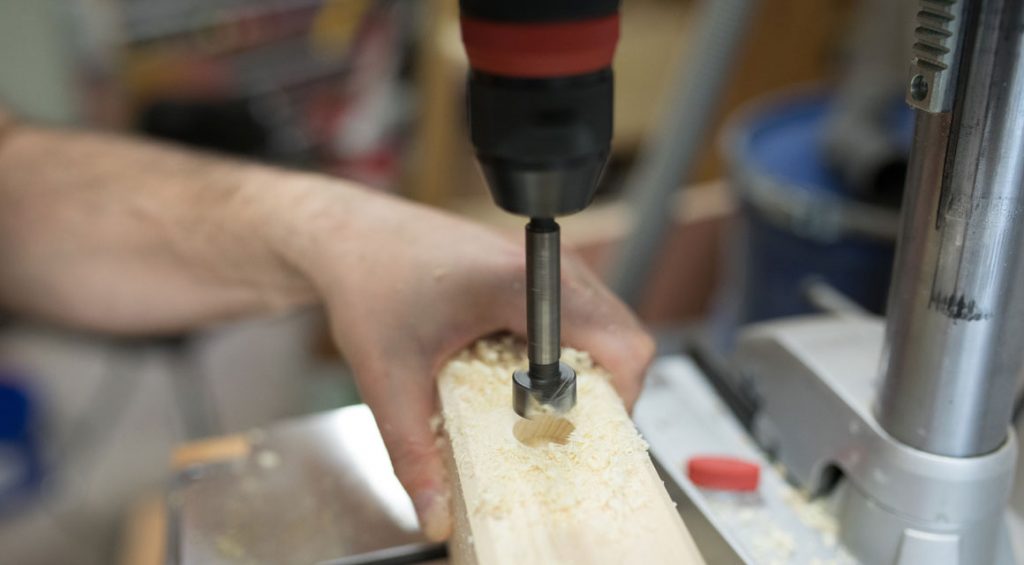
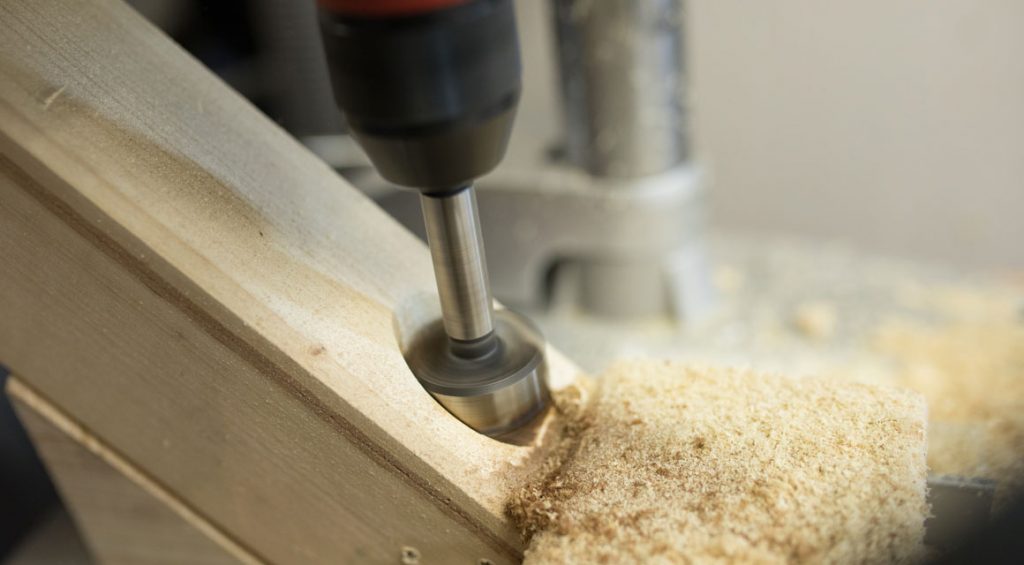
For the eyelets, use a 20 mm forest drill to drill a hole about 15 mm deep. If the four holes are set, switch to an 8 mm wood drill and drill in the middle through the beam.
The beams are held together with an M8 bolt. This type of fastening is particularly stable.
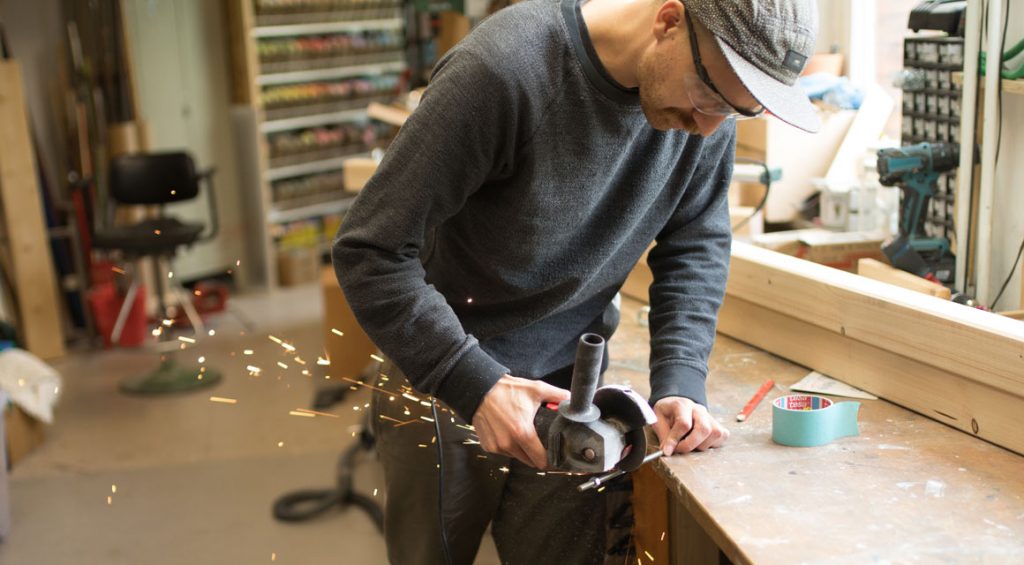
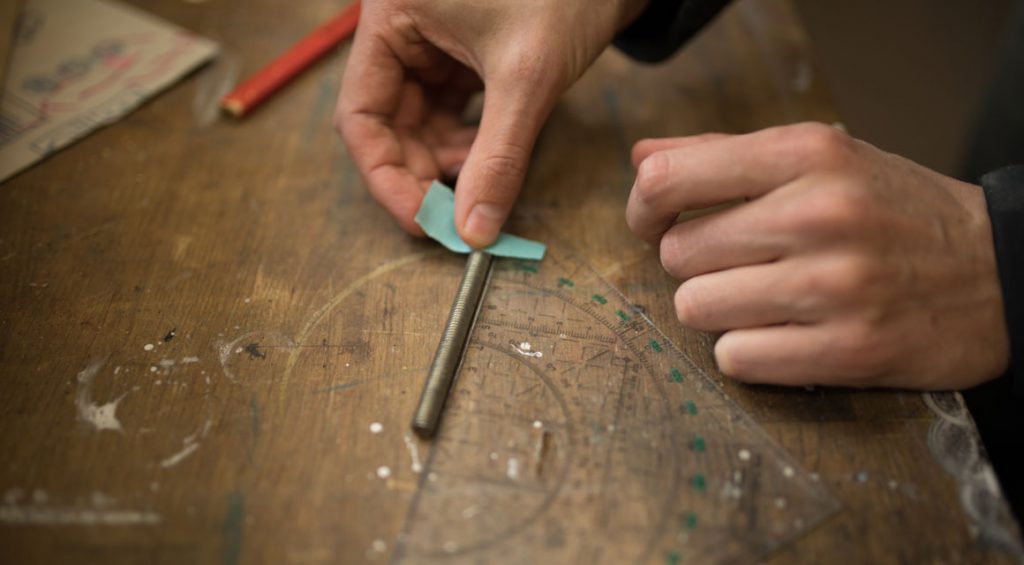
Shorten four bolts to 8 cm each. This works best with the angle grinder and a cutting disc.
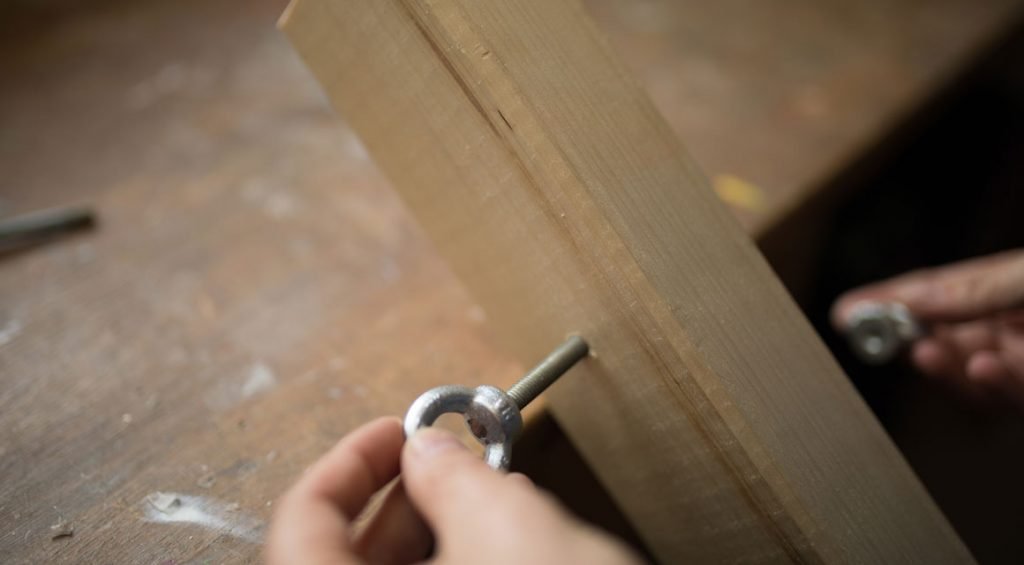
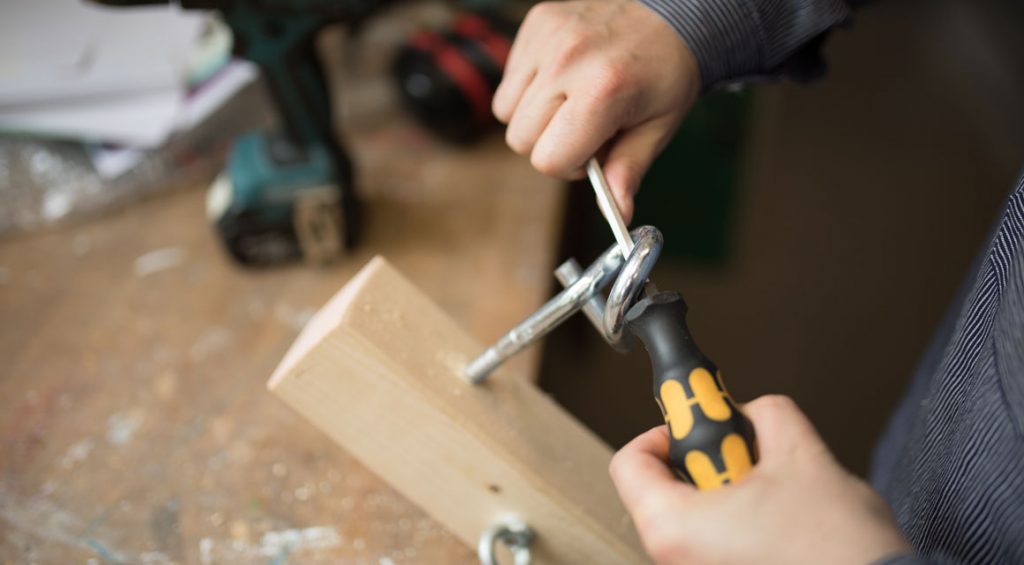
Put one bolt through the borehole, which points outwards until the head disappears into the lowering. Then turn one eyelet onto the thread.
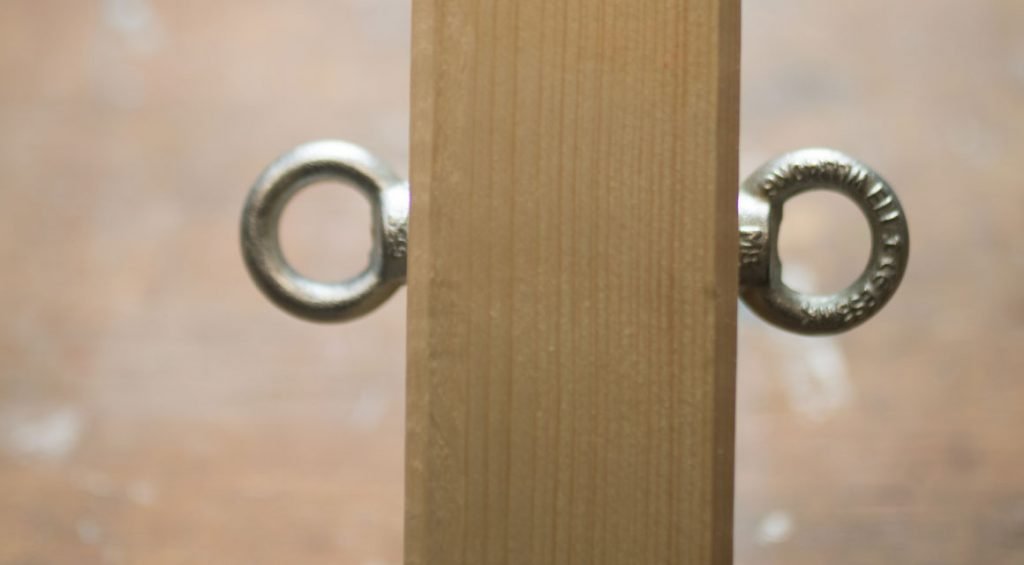
With eyelets on the crossbeams, the tension belts can be fastened better later.
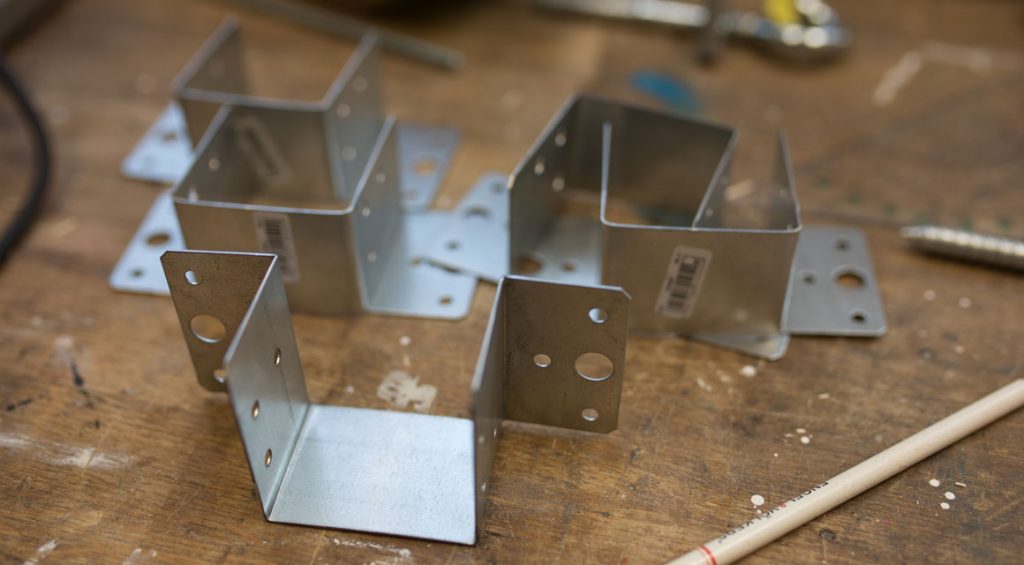
Longitudinal and transverse beams hold the beam shoes together.
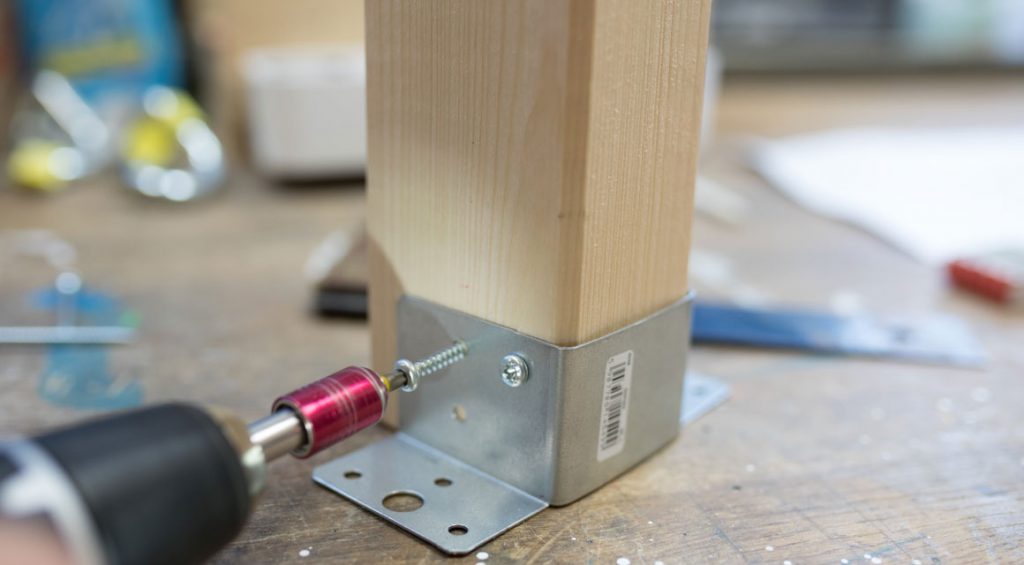
Attach a beam shoe with 50 mm lens head screws to the ends of the longer beams.
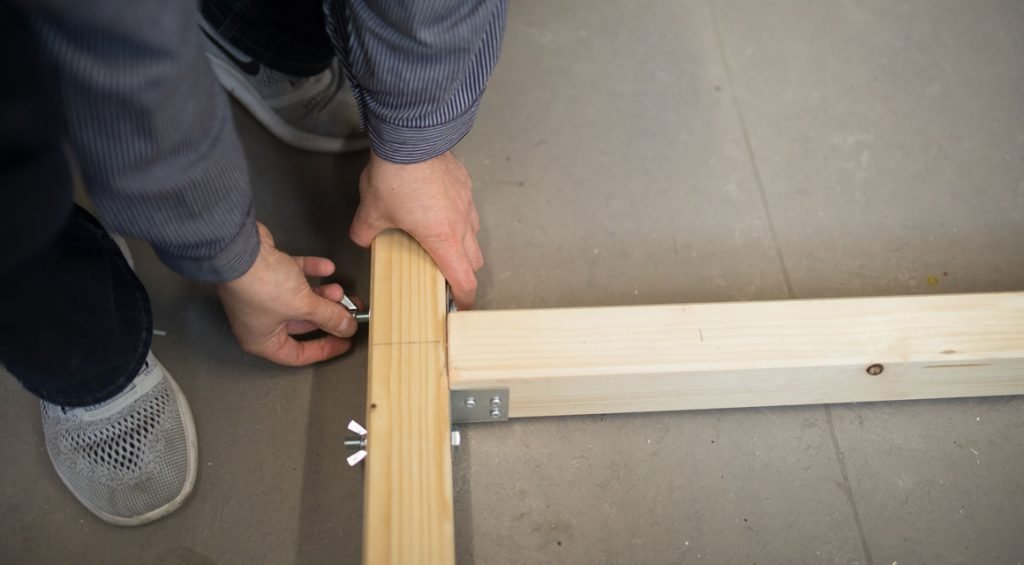
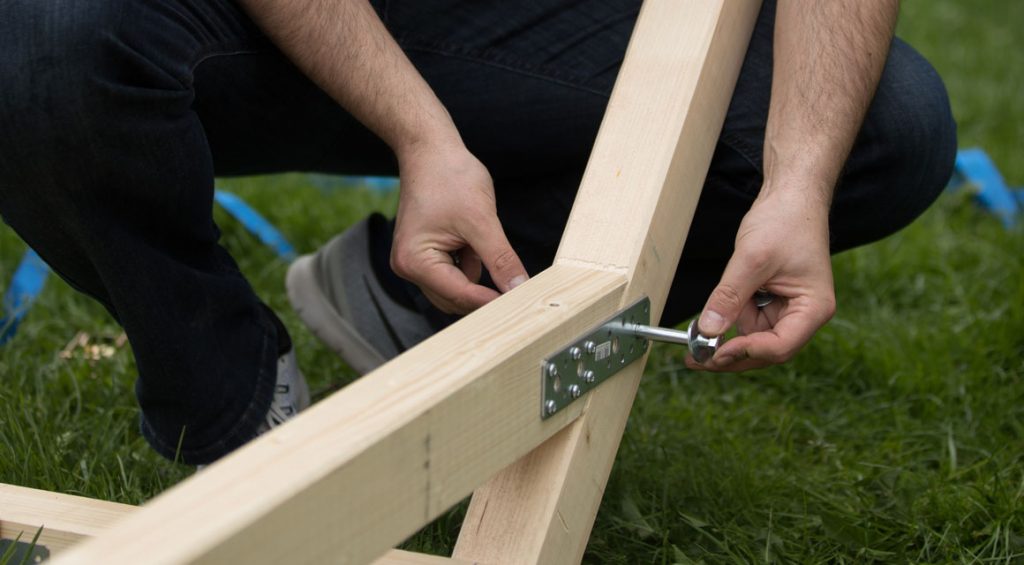
Screw longitudinal and transverse beams with the bolt and with washers on both sides and a wing nut on the outer side of the beams.
2. Attach diagonals and mount the center axis
The hammock is attached to two diagonal beams. Beam shoes and the M8 plug facilitate installation on the cross beams of the base frame. The 1.95 metre long central strut is fastened on both sides with flat connectors. A 140 millimeter long M10 bolt holds the diagonal and center axis together.
Tip: Assemble the base frame and diagonal beams only in the garden – this makes transport much easier.
Fixing hooks: Pre-drill 8 cm below the end of the diagonal with an 8 mm drill. Turn the hook in with a screwdriver.
Lengthen the diagonal bars to 1.67 m each. For the installation of the beam shoes, saw the ends on both sides on miter.
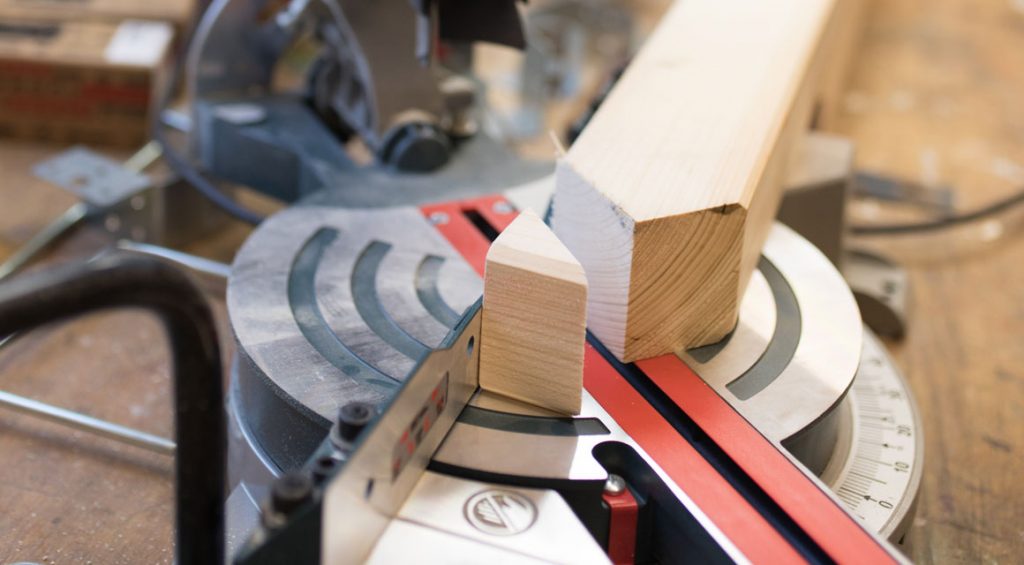
At the end of the beams, set a cut at a 45-degree angle on both sides
For the middle beam with the Forstner drill, place a hole inclined by 45° on the inside of the diagonal.

Mount beam shoes and perform the holes in the middle of the base frame. To do this, transfer the holes of the beam shoes to the crossbeams.
Attach the flat connector 6 x 50 mm each with lens head screws. Insert the center strut and transfer points for drilling for the holes of the M10 bolt.

Strengthening bolts: This step is a bit tricky, but makes the construction all the more stable. With a 140 mm M10 bolt, you can strengthen the beam shoe connection. For this purpose, pierce the 1,200 mm crossbar in the middle between the existing holes for the beam shoes. Draw the hole on the mounted diagonal beams and pierce with a 12 mm wood drill.
3. Stabilize with tension belts
For optimum grip, two five-metre-long tension belts are used. Then all that’s missing is the hammock.
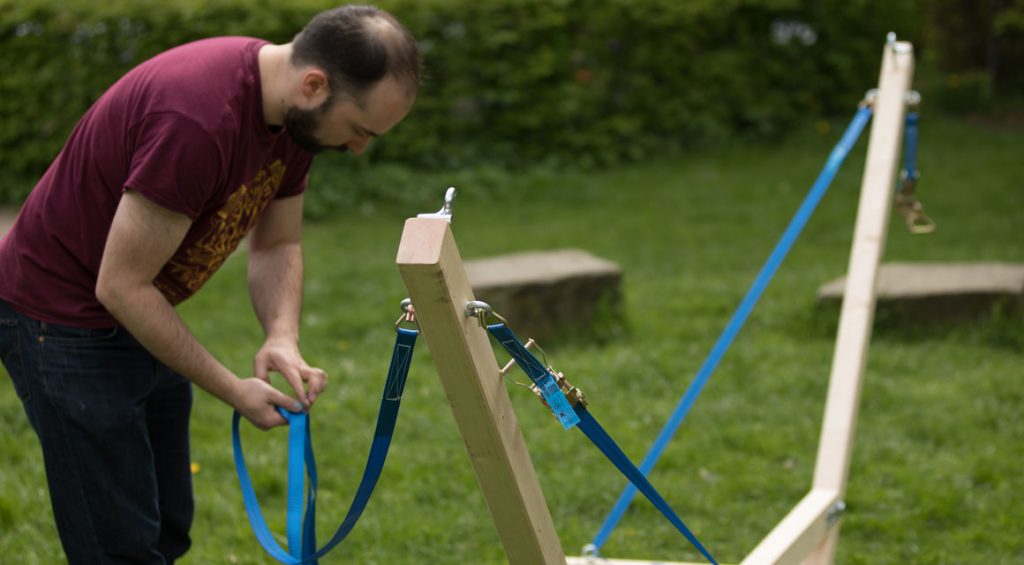
Two tension belts each pass through the lateral eyelets on the diagonals and through the eyelets on the crossbeams. In this way, the weight is evenly distributed.
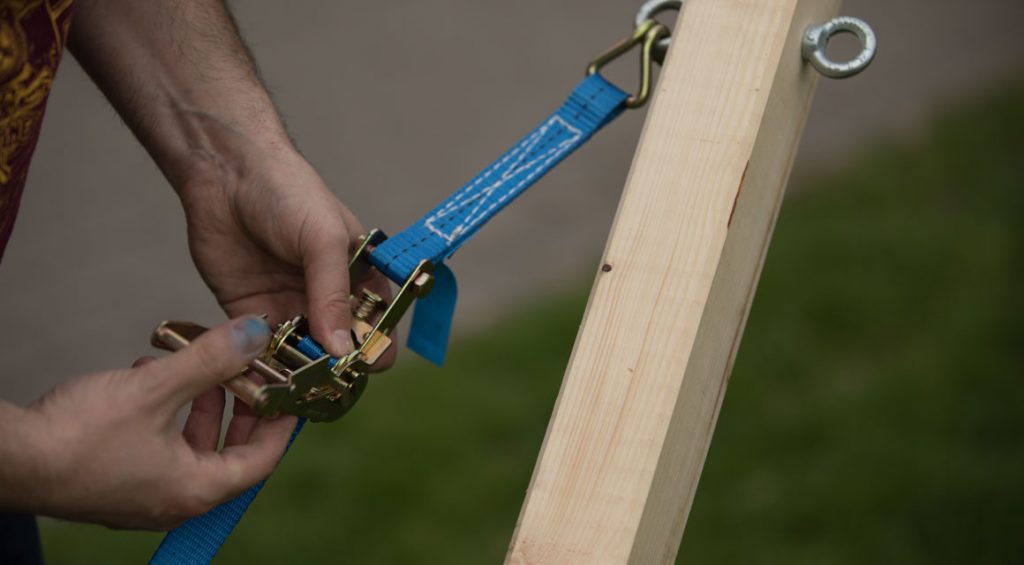
Adjust belts so that they can be tightly clamped

Tighten the straps over the cross as in the picture and pass them through the eyelets provided for this purpose under the middle beam. After this, hang the hammock in the hooks, go grab yourself a beer — and relax. Then consider if you want to oil or stain the wood to a darker color. But have that beer first!
 Gerhardt Richter is a writer and a trainer at trade technical colleges, specializing in carpentry, plumbing, mechanics and construction.